Rich Fruit Bread | Raisins loaf
It’s that holiday time of the year again! One of the things I love about these seasons are rich fruit cakes, and rich fruit bread/raisins bread. They are worth making and eating with a cup of your favorite cocoa drink or plain.
My Rich Fruit Bread just like my other bread recipes (Soft Chicken Rose Bread , Softest Dinner rolls , Fluffiest Chinese Sausage Bread, Shawarma Bread, Softest Hamburger Buns ) is simple, yet very rich, spiced, and healthy. Raisins bread like it’s popularly known is made with raisins (which can either be soaked in brandy, or soaked with hot water, or your favorite wine, or fruit juice), spiced with ground cinnamon, made with flour (all purpose flour, or bread flour).
NOTES
- Raisins : Feel free to also make use of any dried nut of your choice, like baking walnut, pecans, dates, dessicated coconut, etc. I also added glazed cherries to mine. If you are allergic to any of the nuts, feel free to omit it.
The raisins I used were pre-soaked. They have actually been soaked in brandy for 6 months. I do this ahead before the holiday period. If you don’t have a pre-soaked raisin then heat up hot water and pour over the raisins, and allow to soak for at least an hour. For added flavour, pour raisins in 1½ cup of brandy/favorite wine/fruit juice, and heat up on medium heat for 5 minutes. Then remove from heat and strain with a mesh strainer/colander. Allow raisins soaked in hot water or steamed to cool completely before using. If you want to soak your raisins ahead but not in brandy, for some religious or personal reasons, then use a fruit wine or fruit juice of your choice.
Remember to strain the raisins for about 30 minutes to remove any form of liquid. If you don’t you will end up with a soggy dough and it will ruin your bread texture.
- Cinnamon: This adds flavor to the bread. You can substitute this with All-mixed spices.
- Unsalted butter/Margarine: If you can, stick to unsalted butter which must be softened. You will end up with a very rich and buttery bread. If you can’t then use a good brand of margarine.
- Flour: I used All-Purpose flour. You can use bread flour or a combination of both.
- Sugar: I made use of granulated white sugar. By all means you can use brown sugar or honey. The extra molasses in brown sugar will not only change the colour, it will enhance the bread flavor and keep it soft.
- Orange zest: You can use lemon/lime zest. Don’t omit any of it please.
- Chocolate Stone: Now here’s my twist to the traditional recipe. This is optional or can be substituted with chocolate chips. I can’t describe the taste, it simple makes the bread’s taste heavenly!
- Whole milk: Use room temperature milk, not warm or lukewarm. Don’t use water please. If using bread flour, you will end up using up the whole milk because bread flour absorbs more liquid than regular or all-purpose flour. If using all-purpose flour, add milk little by little till you get a tacky but not sticky dough. I didn’t use up all the milk.
- Yeast: I always make use of Instant dry yeast. Hence, no need of activating the yeast. If you have been following up with my yeast doughs you will know I usually slam my dough against my work surface if I am kneading by hand. This creates the same effect like when using a stand mixer. Don’t knead like you are kneading fondant. If using a stand mixer, use the dough attachment.
- Proofing: Most of my bread recipes are only proved once. I proved this dough for 2 hours. You can make this dough overnight, fold and place in your loaf Pan, and cover Pan tightly with a plastic wrap or cling film and refrigerate till the next morning. This won’t affect your dough, it will only slow the proofing time. During humid season, your kitchen’s temperature will probably drop. You can turn on your oven’s light for 5-10 minutes, then turn it off and place your folded bread in the oven. This creates a warm (not hot) environment for bread to proof. I do this mostly when I want to hasten proofing time.
- Glazing: I usually glaze my bread with milk + egg just before baking and 20minutes to the end of baking period. This creates a matt golden look. Then once it’s baked I glaze with butter. This soften the crust and gives a shiny look.
- Baking: I made use of a 9×5″ loaf pan. You can also use 8×4″ loaf Pan. 30minutes to the end of proofing period, preheat your oven. Bread oven requires very hot oven to bake well, if not you will end up with an underbaked bread or bread with deflated pores/air pockets. I also usually steam bake ALL my breads. Bread will take a longer time to bake than other bread recipes ‘cos of the raisins.
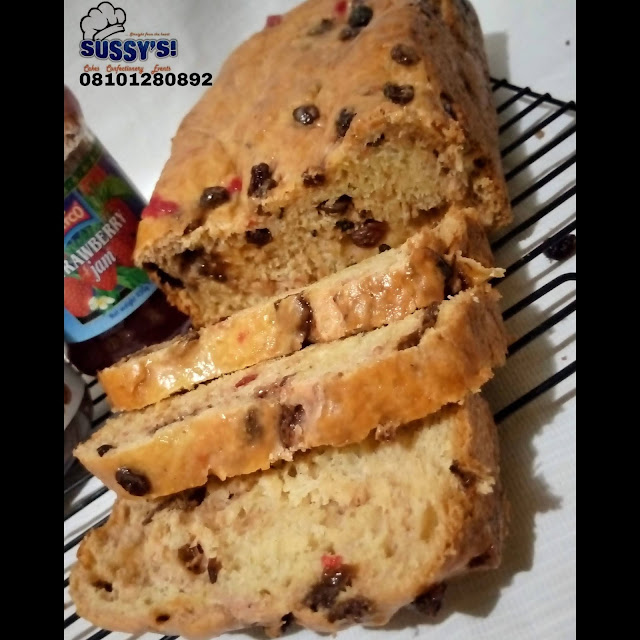
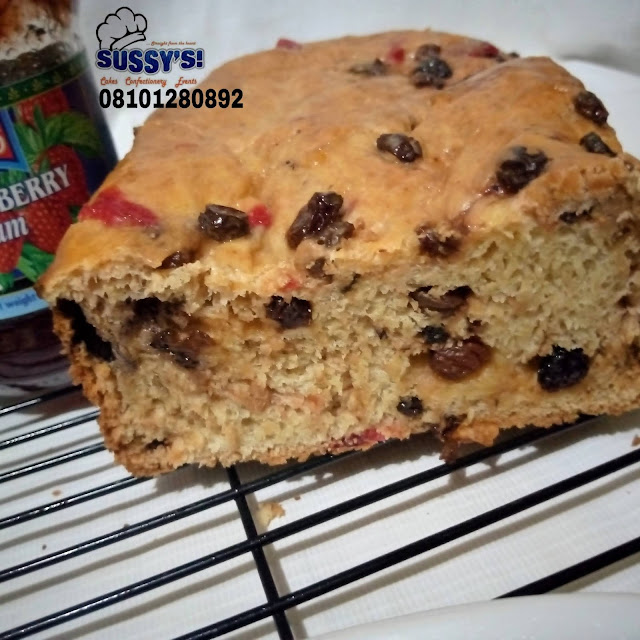
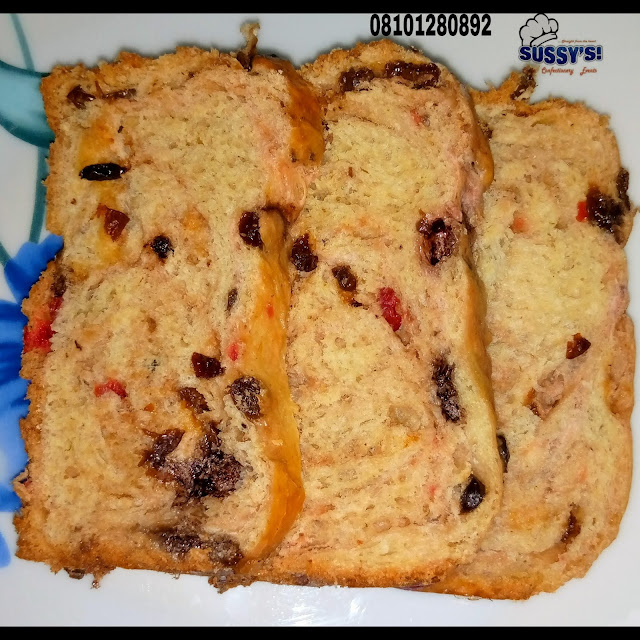
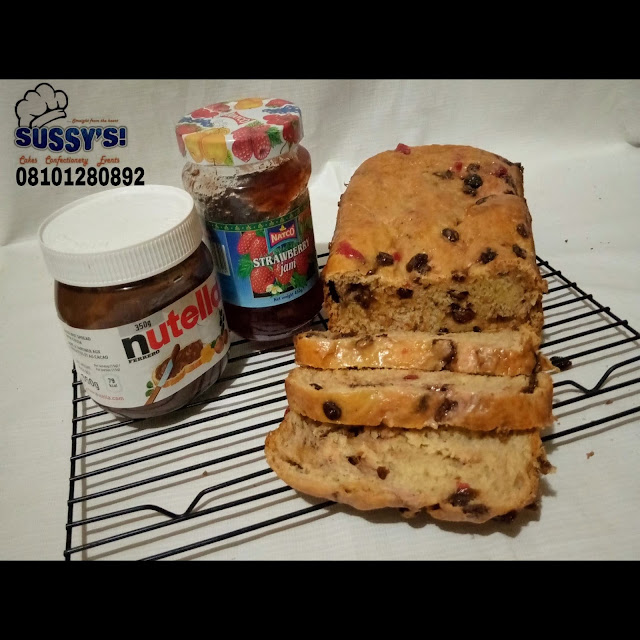
- Cooling: Allow bread cool completely on a rack before either slicing with a serrated knife or eating. You can eat this plain, or buttered, or with jam, or as sandwich, or toasted, or with a burger cheese slice. Feel free to explore!
- Shelf life: Bread’s shelf life is 5 days. It can be frozen for up to 3 months.
If you are interested in learning more about BREAD AND PASTRIES, then sign up for my online COURSES by chatting with me using any of the social media links (All online courses runs only on TELEGRAM). If you are in Lagos, Nigeria and needs an on-sight/physical class, feel free to chat me up too for my MENTORING PROGRAM OR SANDWICH classes.
See step-by-step video here RICH FRUIT BREAD
TO MAKE:
- Get your loaf Pan and grease with butter or cooking oil. Make sure you grease all corners of your Pan, if not your bread won’t come out of Pan after it’s baked.
- Get your strained raisins, add your chocolate stones and stir to combine. Make sure your raisins are void of any form of liquid. Set aside.
- In a large mixing sieve in flour, add sugar, yeast, cinnamon, zest, and salt (to another portion of your bowl), stir well to combine.
- Next add butter, egg and mix to form crumbs. Then add milk little by little till you get a tacky but not sticky and not tough dough. (WE HAVE DIFFERENT FLOUR TYPES IN THE MARKET, hence if using All-purpose flour like me, add milk little by little).
- Start kneading dough. If using a mixer, knead on high speed for 10 minutes. If using hand to knead, transfer dough to your work surface and knead by slamming dough against work surface for 15 minutes (Do not be tempted to grease or flour your work surface).
- At the end of kneading period, dough should be smooth, tacky to touch, non-sticky, and when you pull a little portion of the dough, it should take some seconds before it tears (window pane test).
- Place dough back into the mixing bowl, add your raisin mix, and mix well till raisins and chocolate are well incorporated into the dough. DON’T USE A MIXER FOR THIS. Mix in the raisins gently.
- Next, transfer dough to a slightly greased work surface, grease your palms and fold your dough (please check the video for a full demonstration)
- Place dough in Pan, cover and allow to proof for 2 hours.
- 30 minutes to the end of proofing period, preheat oven to 190°C/375°F.
- Glaze dough with milk + egg glaze and bake in preheated oven for 30-45 minutes.
- Once bread is baked, if you tap the top, you will hear a hollow sound. This shows it’s baked. Brush bread’s top while it’s hot with butter to soften the crust.
- Remove from Pan, place on rack to cool completely
Enjoy!
#raisinbread #richfruitbread #holidayrecipes #breaddough #yeastdough #bread

[…] you have kids who are not fans of Fruit Cakes or Rich Raisin Bread recipe, just make use of this colourful Tutti Frutti for Moist Tutti Frutti Cake and they will sing your […]