Homemade TUTTI FRUTTI (with Papaya)

So I wanted to share my Moist Tutti Frutti Cake recipe on the channel this week and after searching malls in my vicinity, I was greeted with a sad reality. No Tutti Frutti. “Girl, why don’t you just stop procrastinating and make some”. And here we are, my no-fail tutti frutti recipe with loads of tips that NO ONE TOLD YOU!
By the way what are Tutti Frutti? What are they made of? And what can they be used for?
Well that’s the reason for this post ‘cos I will be talking about all that and more.
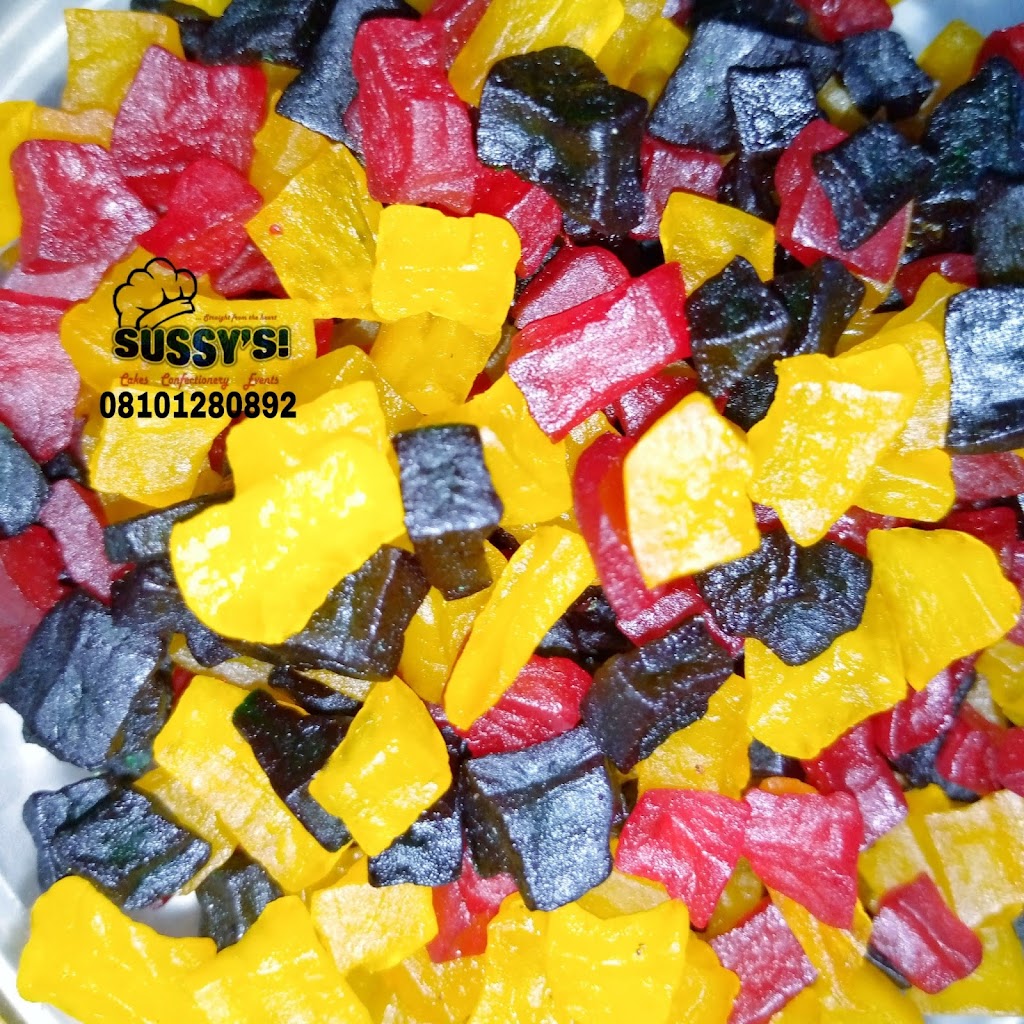
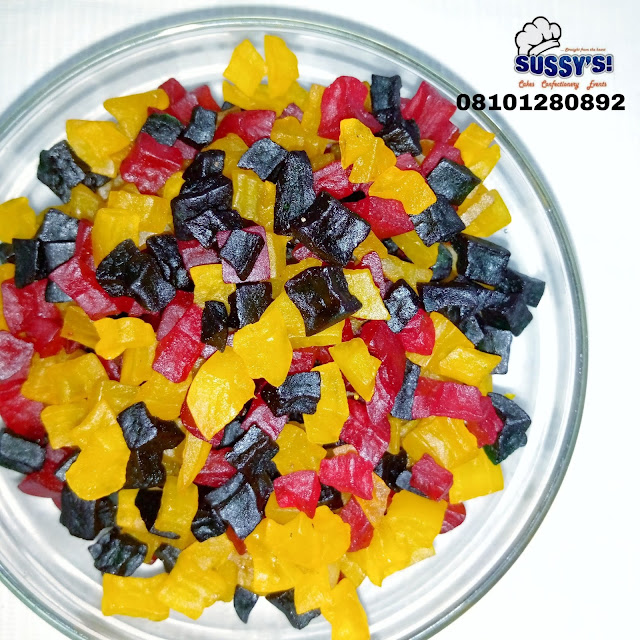
Tutti Fruttis are sweet and colourful confectioneries, or candied fruits mainly prepared from raw pawpaw (papaya) or from watermelon rind (Oh yeah you read that right). It is often used for toppings in ice creams, desserts, or made with a cake recipe.
Tutti Frutti don’t have any significant smell or piquant taste. They are like any other candied fruit that taste fruity but not too much, a bit chewy and gummy.
If you have kids who are not fans of Fruit Cakes or Rich Raisin Bread recipe, just make use of this colourful Tutti Frutti for Moist Tutti Frutti Cake and they will sing your praise !
PRO TIPS:
- I made use of papaya (pawpaw) but you can also use watermelon. The good news about using watermelon is that you get to eat the fleshy pinkish or reddish part or you use it for watermelon juice, then you use the rind for tutti frutti! (I think I will just have to make a post on this). If using papaya use raw or unripe ones.
- Patience. You need to be patient ‘cos there are waiting hours. I started this recipe on Friday morning and it was ready Saturday evening. Yes that’s how long it takes to make my no-fail tutti frutti recipe.
- I used three types of FOOD GRADE colours. Powdered, Liquid, and Paste colour. In other words, which ever of these food grade colours you use will be perfectly fine. Tutti frutti are mostly in yellow, red, and green colours, but feel free to create as many colours as you want.
- At the end of the process, the tutti frutti candies will shrink from it’s original weight of 500g to approximately 328g. So if your recipe calls for more of these candies, you have to double the original weight of the papaya cubes.
- It’s best stored in a clean air-tight container. Shelf life is 2 weeks, keep refrigerated for 6 months, or frozen for as long as you like!
See step-by-step video here: Homemade Tutti Frutti
TO MAKE:
- First start by washing your raw papaya. Then you can decide to peel off the rind right away or cut the papaya into two before cutting. I used the later method. When peeling off their rind, make sure it’s only the green part you are scrapping off. That’s the reason I had to use a scrapper as against kitchen knife.
- Next remove the white seeds and also the white part in the papaya. Cut the papaya into stripes and dice in uniform cubes. Try as much as possible to make the cubes uniform so they cook evenly. The sizes of these papaya cubes are almost same as raisins.
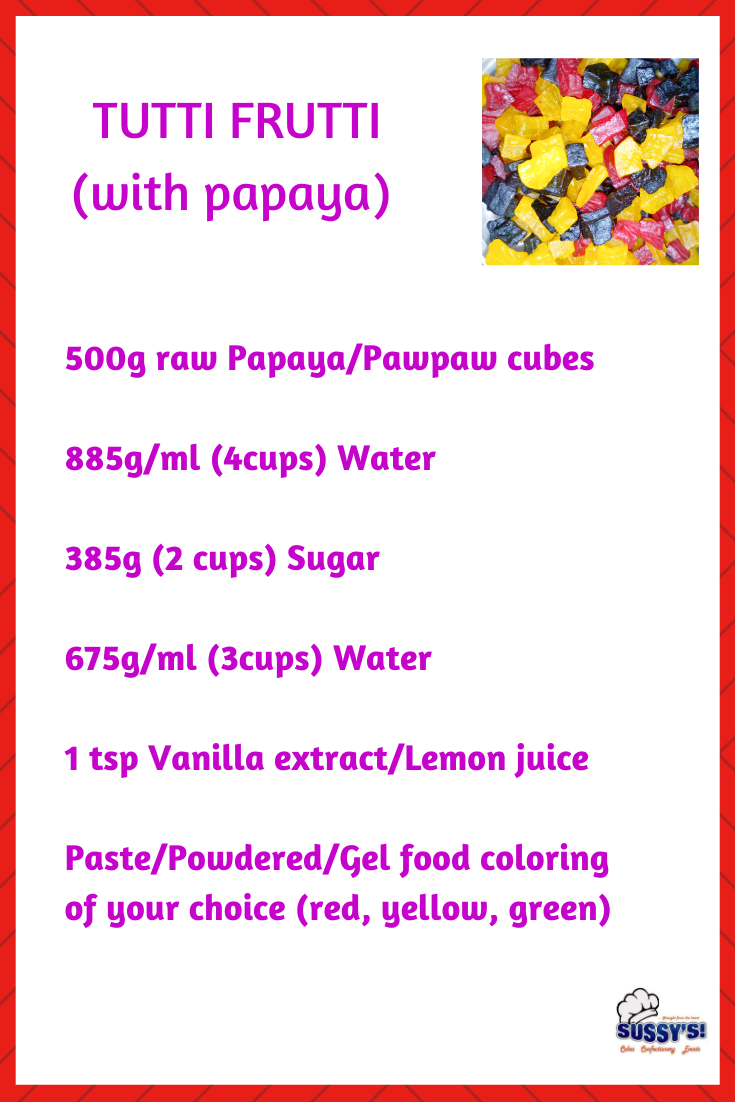
- Pour papaya cubes into a deep skillet or pot and add 4 cups (885g/ml) of water and simmer on medium heat for 20 minutes. This is to kind of per-boil the papaya and it gives a translucent look. Be careful not to over boil it. Once it boils, turn off heat.
- Transfer the cubes to a mesh strainer and drain out the water. This took me 2 minutes.
- Next pour the papaya cubes into the skillet or pot again, add sugar, add 3 cups (385g/ml) of water and return it to medium heat. Stir well.
- Boil and stir occasionally till sugar syrup is very much reduced. Please check the video. At the end of this period I got about ½ cup of the sugar syrup. It took me about 40 minutes.
- This process allows the syrup sip into the cubes well. The cubes will at the end of this phase be soft but still retain their shapes. Also when you touch the syrup it will be slightly sticky. This shows they are ready.
- Turn off the flame, add vanilla flavor or lemon juice (you can use any flavor of your choice) then stir well.
- For this next phase, get three bowls, divide the papaya cubes into the bowls including the syrup. If making more than 3 colours, get more bowls. Next add one colour to each of the papaya cube bowls, and give them a good whisk. Depending on the brand of food grade colours you are using, add a little portion at a time and mix. If not satisfied, add more. Take note that as the tutti frutti dries, the colours gets intensed. I added to much liquid green color to one of my bowls and ended up with a very dark shade of green tutti frutti. You can use powdered food grade colour, liquid, or paste.
- Now cover bowls slightly with a cheese cloth, to keep dust or any unwanted elements from entering the bowls. Cheese cloth will also allow air penetrate into the bowls so the syrup cools. If you don’t have a cheese cloth, use paper towels.
- Keep bowls in an undisturbed cool dry place for 12 hours. In every 3 hours, stir the cubes. Don’t be tempted to skip this part. This process allows the cubes soak in the coloured syrup well.
- After 12 hours, pour each bowl containing papaya cubes into different mesh strainer to drain out the syrup. I left it this way for 7 hours.
- Next get a baking tray, spread it with layers of paper towels. Then get your drained papaya cubes and spread then separately on the tray. (DON’T THROW AWAY YOUR COLOURED SYRUP. Don’t allow the different coloured cubes touch one another yet ‘cos they are still wet and will smear each other’s colour. And you don’t want that. Leave it this way for 5 hours. I changed the paper towels after the first 3 hours.
- While waiting, get your coloured syrups, pour each into separate plastic bottles. This can be added to a new batch of tutti frutti so you aren’t using much colours for the new set 😉. Keep it refrigerated for 6 months or frozen for as long as you like. Remember to bring it to room temperature before using. (If adding to new papaya cubes, first, add the sugar syrup from the fresh ones to the cubes before adding the previous batch, then mix well. Then you can decide if you want to add more colours or not).
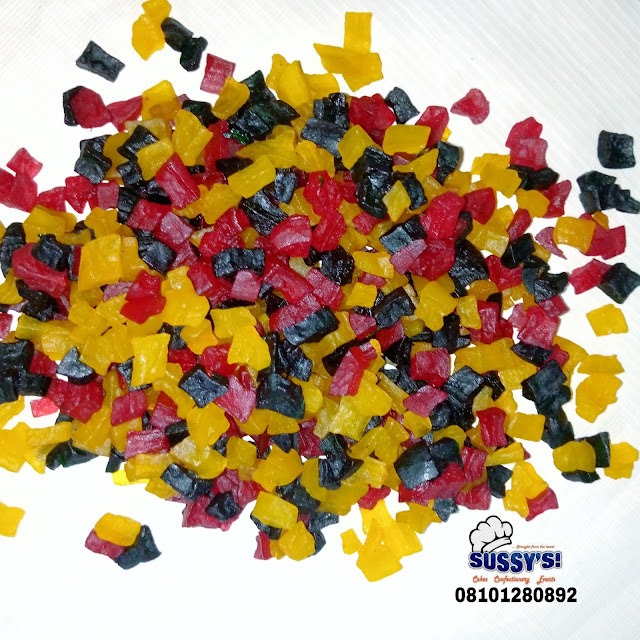
- At the end of these drying period. Your tutti frutti is ready! Now they are safe to be mixed together. The colors won’t stain your hands when you touch them. Mix them well to get a colourful candied fruit bowl. Use immediately as toppings or in Tutti frutti cakes or Tutti Frutti Bread or store.
- Please note that at the end of the drying process the weight of the tutti frutti will reduce from 500g to 328g.
Enjoy!
#tuttifrutti #fruitcandies #homemadetuttifrutti
#homemadecandies #candiedfruits
#papayatuttifrutti


[…] It’s colourful and this is because of the tutti frutti candies (Homemade Tutti Frutti recipe) used. […]