How to make the BEST SHAWARMA/LEBANESE BREAD AT HOME
Before you order the next shawarma bread from that mall near you, READ THIS! This is the best, softest shawarma bread recipe you will ever make. I will also be covering/defining some terms, and doing a little introduction into the flatbread family. In other words, this recipe is so simple that you don’t need any formal knowledge to make it! You also won’t be needing any special tool or equipment! Just TRUST me 😊.
So let’s get started.
You must have come across the popular terms FLATBREAD, TORTILLA, PITA BREAD, NAAN. And you might have gotten confused on which is which. Or even the difference between them. Let me say, they are all under the same family, called FLATBREAD.
So what are FlatBreads? Basically and traditionally, they are unleavened breads made with flour, salt and water. Another category of flatbread (pita bread) may be made from leavened dough that is flattened out before baking. OR in other words, flatbread is any kind of bread that is flat. The dough made from these ingredients is thoroughly flattened with the aid of a rolling pin and baked. It is argued that it originated from ancient Egypt.
Many cultures have their own versions and that’s where other types like pita, tortilla, naan got their names. The ingredients are also slightly different but they generally have one thing in common. They are flat!
Pita Bread is a variety of flatbread. It originated from Greece. One difference between the traditional flatbread and pita, is that it has a form of leaven agent in it and it is soft. It is also known as Lebanese/Arabic/Syrian bread.
Naan Bread is another popular variety of flatbread that originated from India. It is softer than pita because of the ingredients used in making it such as milk, and sometimes eggs.
Tortilla Bread originated from Mexico and its ingredients are much similar to pita bread.
How to use Flatbread
How to store your Flatbread
How to restore Frozen Flatbread
What kind of flour can I use?
Why should I go through the stress of making Pita bread when I can always buy from the mall? 😀
Some quick tips to making your shawarma/pita/flat bread like a pro
- Use an instant dry yeast. Any type of active yeast would work just fine but I prefer working with an instant yeast that I don’t need to first activate with lukewarm water before adding the mixture to the dry ingredients.
- Use of water. We have different flour types in the market just like I explained in my Softest Dinner rolls recipe. And each absorbs water differently. Hence when adding water add it bit by bit till you get a non-sticky dough. Also, in winter I use luke warm water to mix my yeast raised doughs; while in summer, I use ordinary clean tap water or very cold water as the case may be.
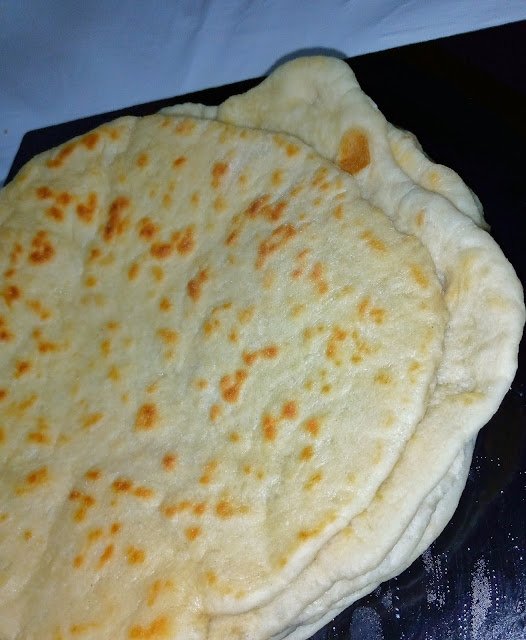
- This flatbread recipe can be baked in an oven or heated in a pan. The advantage of baking in an oven is you can make more than one flatbread at a time. Also the bread comes out dry like the mall types.
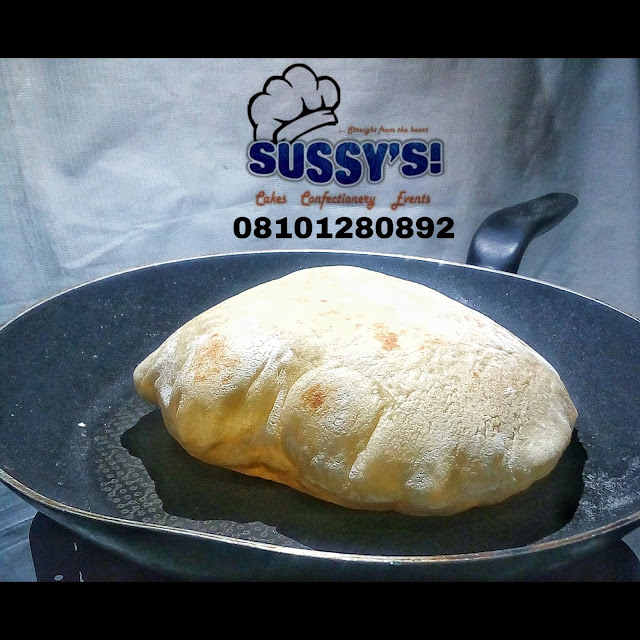
- Bread recipes needs very hot oven/pan to bake. In other words, your oven/skillet/pan must be EXTREMELY HOT to make this. This is what puffs the pita bread.
- If you like fresh mixed herbs and garlic, just like me, feel free to make a paste with them and mix with melted butter and brush over your pita bread while baking. Your kitchen will have a distinct aroma!
- Kneading. You can knead your pita bread by hand or with a stand mixer using the hook/dough attachment. If kneading by hand, knead for 20 minutes just like I did in my Soft and Perfect Ring Doughnut recipe. While if kneading with a mixer, knead for 15minutes.
- When rolling out the dough, roll out very thin about ¼ inch. The thinner the dough, the puffier it will be. Make sure there are no cracks or tears while rolling out. Tears and cracks enables the steam to escape during heating and dough won’t puff (I just love the puff part of pitas 😀) or expand to create those pockets we want.
- Don’t skip any of the making or proofing/resting process! DON’T TRY IT! Trust me you won’t like the outcome.
- After first proofing the dough, you can keep it in an airtight container and refrigerate for a week. In other words, you can make the dough in advance. You can also freeze rolled out doughs by just placing parchment paper between each disc and placing them on a baking sheet. This can be frozen for up to 2 months.
- When kneading by hand, do not be tempted to add excess flour. So just slightly dust your work surface. To know more about working with yeast raised doughs , storage, etc, you can sign up for my detailed online pastry class where I unravelled some mysteries about yeast raised doughs and also gave out detailed recipes that will change your pastry game.
- Immediately you remove pita from oven or skillet/pan, place them in a damp kitchen towel. The towel helps to capture the right amount of moisture and simultaneously allows the pitas to breathe.
To make:
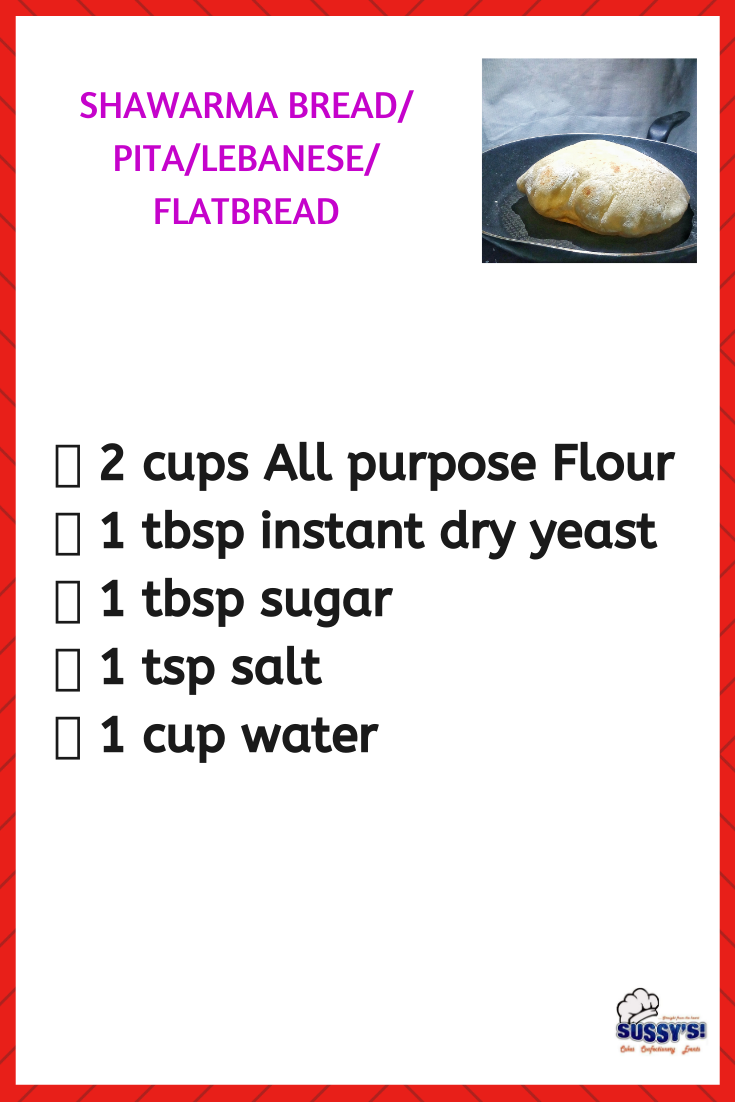
- In a mixing bowl, add your flour, add yeast to a portion of the bowl, add salt to another portion of the bowl. (Salt kills yeast, so they should be added separately and not directly on each other).
- Next add sugar. Stir to combine. Next add water. Little by little while mixing till it forms a non-sticky dough. Dough should also not be tough.
- Knead dough with a stand mixer using the hook or dough attachment for 15 minutes; or by hand for 20 minutes.
- Form dough into a tight ball, place in your mixing bowl and cover with a plastic wrap/cling film. Allow to proof for 1 hour.
- After an hour, slightly punch the proofed dough; transfer to a slightly floured surface. Cut into 4 equal parts or weigh each dough to be 114g. (The fourth dough will be roughly 112g).
- Shape each dough into a tight ball and place on a slightly floured work surface. Use the palm of your hand to slightly flatten each dough. Cover with a tea towel for 15 minutes.
- Next, slightly flour your work surface and roll each dough out into a disc and it should be very thin. Make sure there are no cracks and tears in the dough. The dough might show resistance when rolling out. Just be patient. Roll out from the center out. This is very important. Take your time to roll out.
- Next cover the dough and allow to proof for another 15minutes.
- At this stage, I usually start preheating my skillet/pan. If using an oven start preheating from this stage. Oven/Pan must be very before placing the dough in it.
- Now place in the preheated skillet/pan. If baking with an oven, make sure you leave spaces between each dough once you place them on your baking tray. This gives them room to puff.
- If using a pan like I did, get your crank spatula or a frying spoon that’s flat and use to slightly press the dough. This also helps to distribute the air in the pita pocket. This step is optional though. If baking in an oven, you don’t need to do this.
- Flip your dough continuously. Once it puffs allow it cook again for a minute.
- Remove from heat and immediately place between a damp kitchen towel.
- Use as wraps, eat plain, dip in sauce, add toppings, stuff with veggies; in essence customize to your taste!


[…] accessible to you. You can use pita, tortilla wraps, or any flatbread. Or simply use my BEST SHAWARMA BREAD RECIPE. Even if you can always get Shawarma Bread in your vicinity, nothing beats the taste of freshly […]
Thanks for your kind gestures at all time, may the Almighty God continue to expand you. I am putting this to practice.
Amen, thank you for the support
You're most welcome. Looking forward to your feedback on the recipe. Thank you for the support ����.