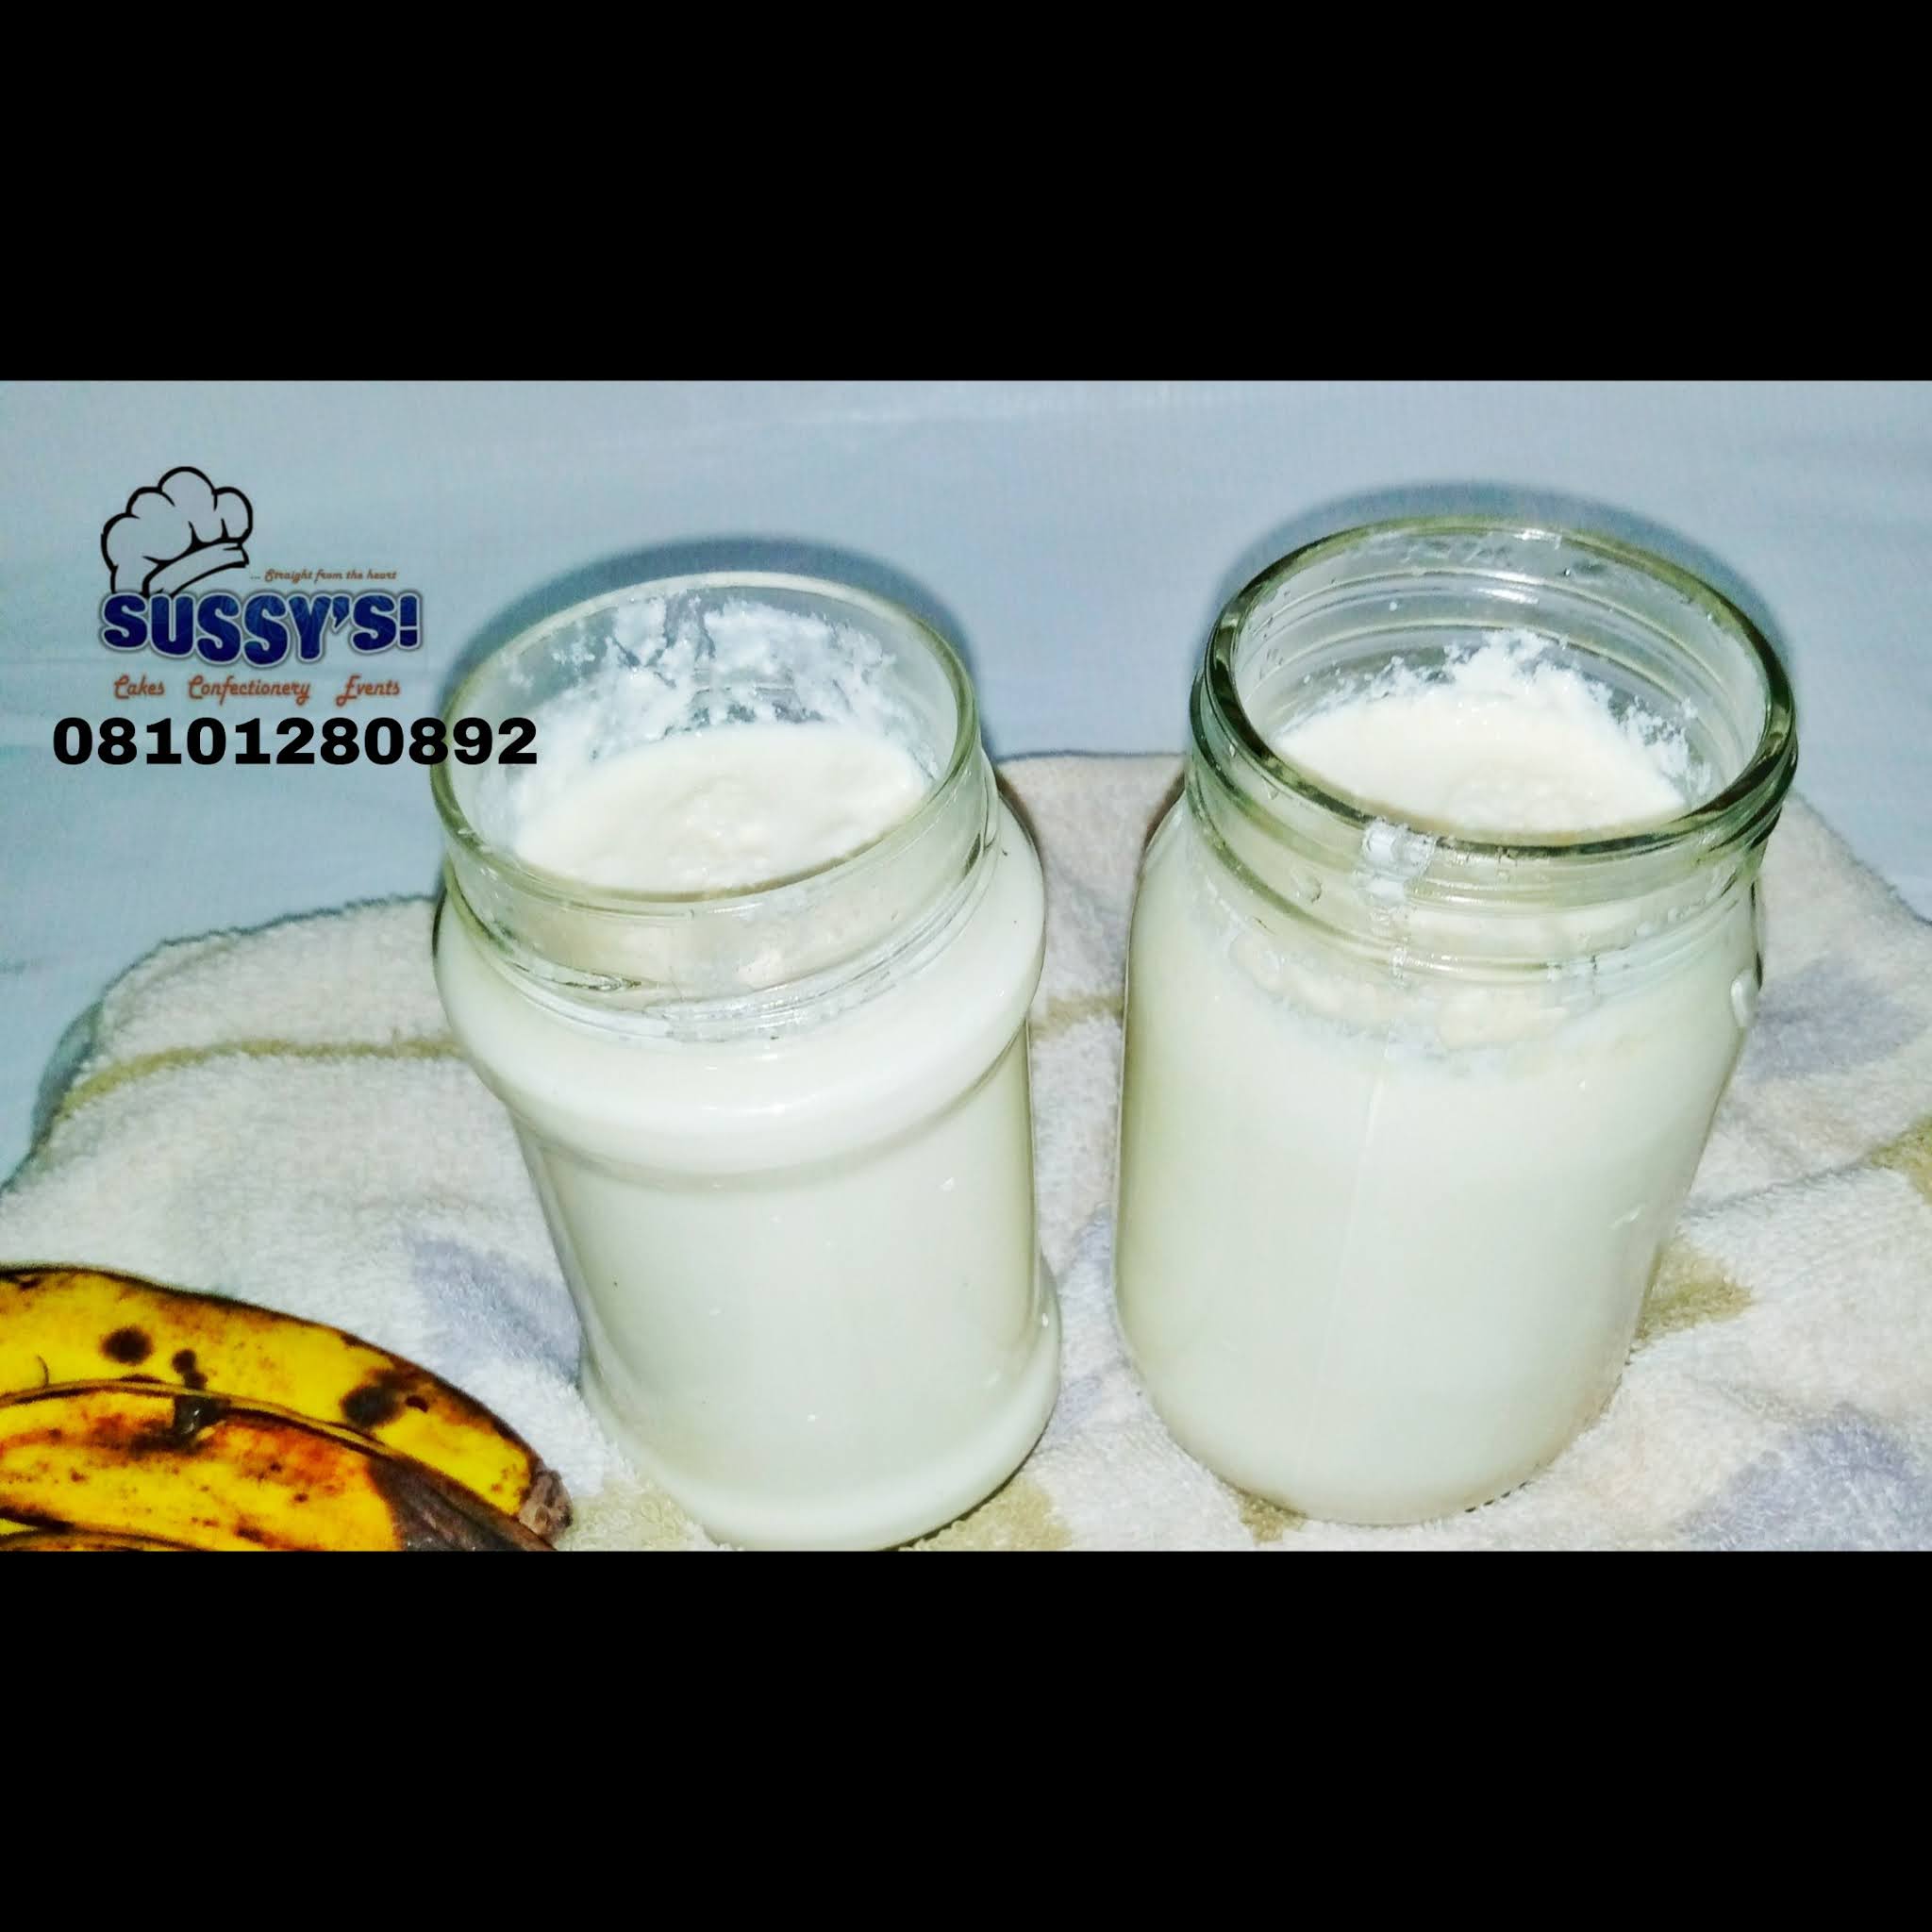
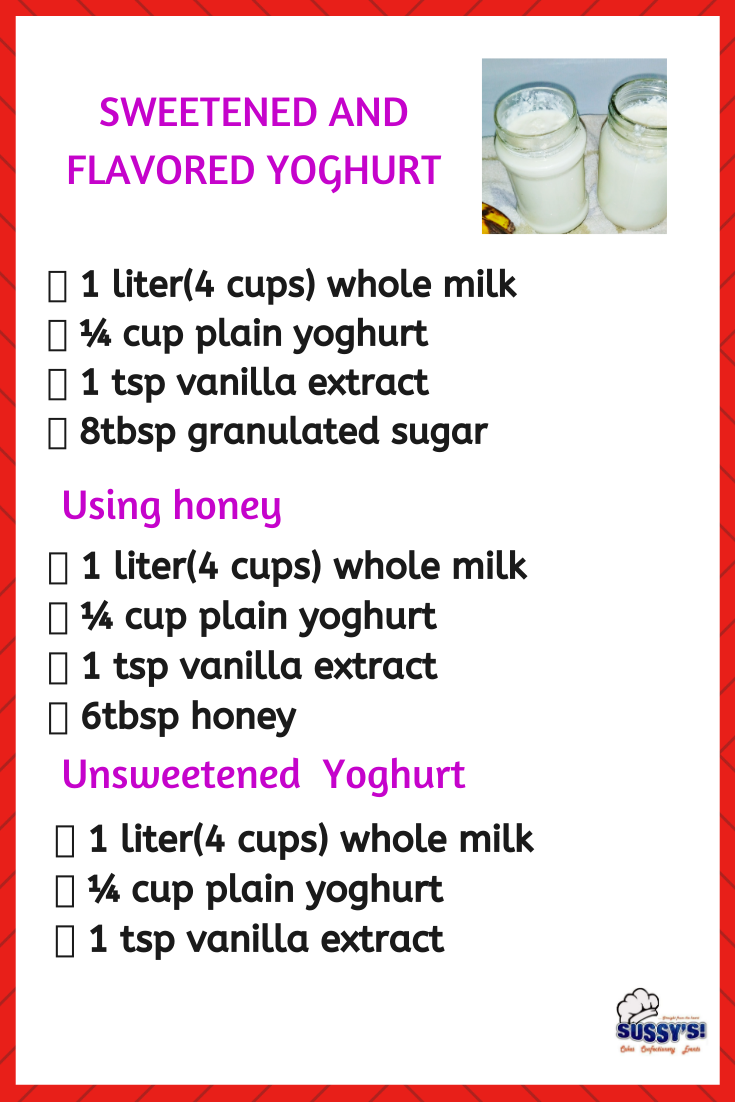
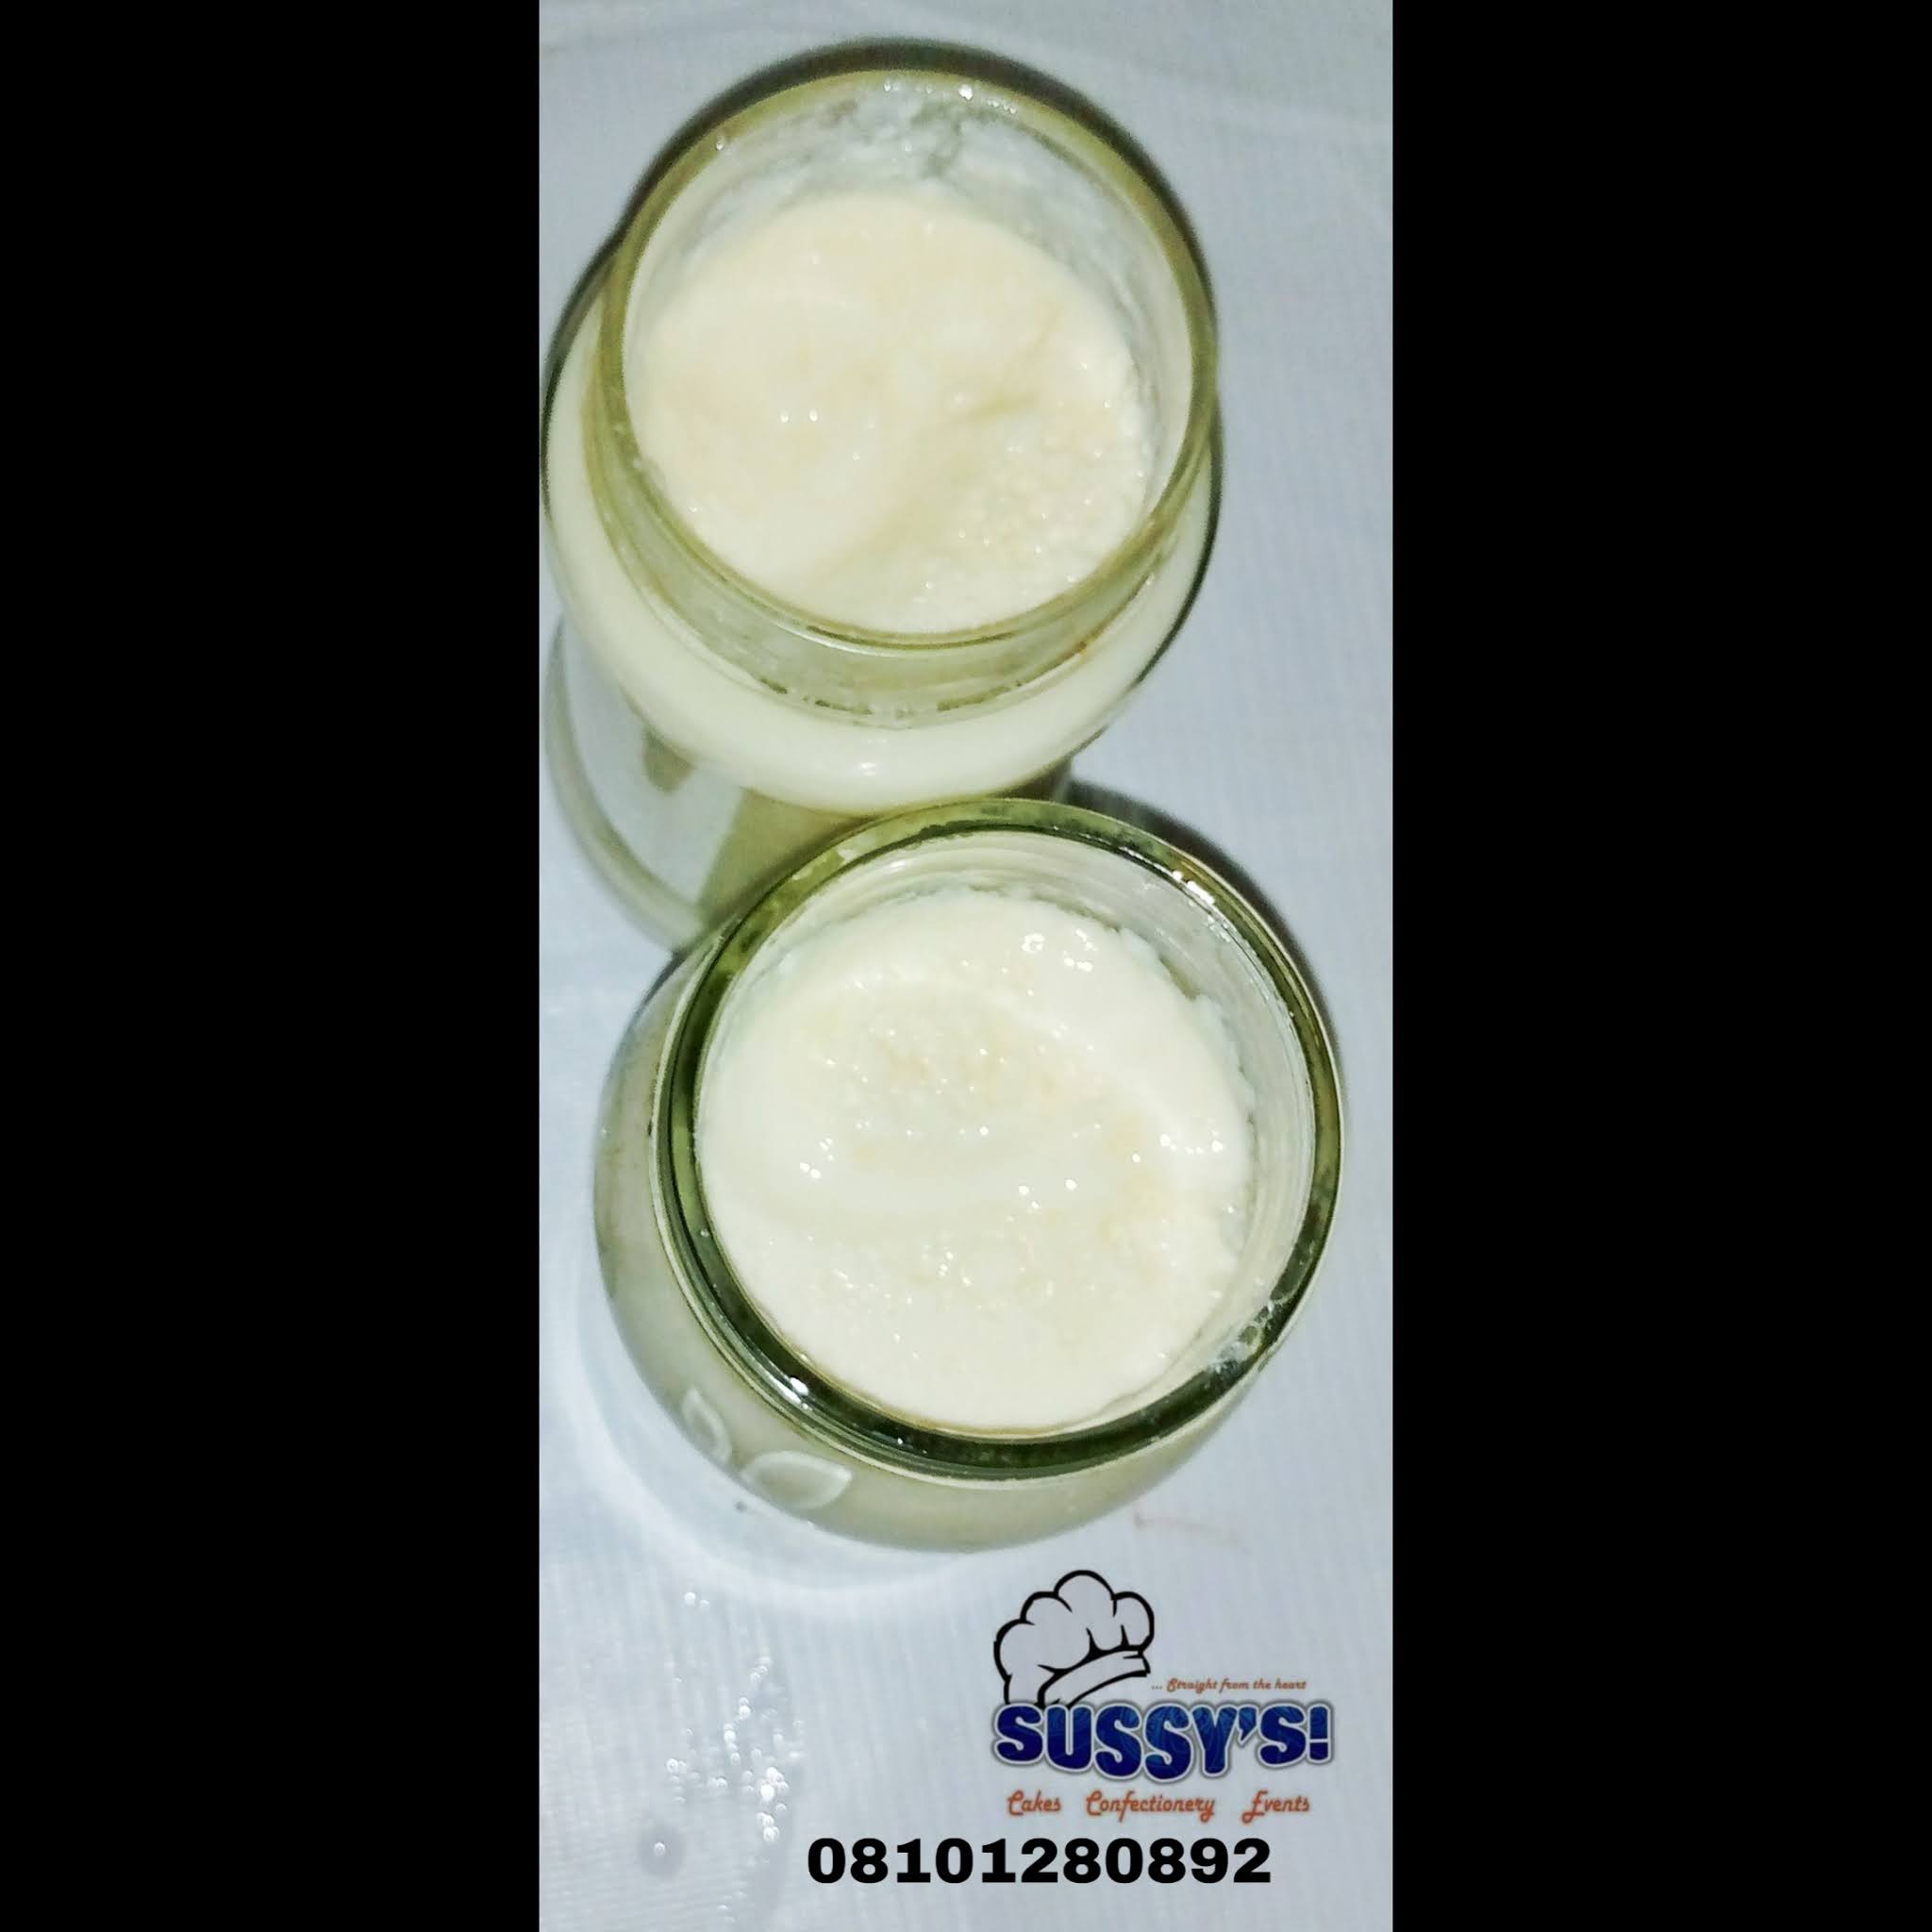
OLD FASHIONED SWEETENED AND FLAVOURED YOGHURT
I am aware store-bought yoghurt may be convenient, BUT the truth is, YOU CAN’T BEAT the rich, and wholesome qualities of homemade yoghurt! There’s something special and exciting when you make homemade recipes. They are not only healthy but you can have fun making them with your kids and also having them in whatever quantity you want!
Can homemade yoghurt be dangerous?
Food safety for homemade yogurt works basically the same way as cooking: you are safe as long as you respect the needed time and temperature restriction.
Can I take homemade yogurt everyday? Yogurt is the perfect immune system booster. The lactic acid bacteria in yogurt have important effects in preventing cancer, infections, gastrointestinal diseases and asthma. So my answer is yes!
Is making homemade yogurt worth it? Should this even be a question? Well YES, it’s worth it making your own yoghurt. And your homemade yoghurt can be made into a variety of sweet and savory dishes!
Making yoghurt at home isn’t rocket science. It’s very simple. Before I go on to the recipe, there are some tips you should know.
Tips:
- Sterilize all jars and containers you would be using to store the milk for incubation process. This is very important because it helps remove bacteria and keeps your milk fresh till after incubation is over. To sterilize, heat up water to a boiling stage, pour into the jars/containers. Cover them with their lids and set aside for 20 minutes. Pour out water after that and your jars/containers are ready. I usually do this before I start the whole process of making my yoghurt so when my milk is ready to be poured into my jars, my jars too are ready to accommodate them.
- The type of milk you use will determine the end product of your yoghurt. What this simply means is if like me you used a full cream milk (which has about 3.5% fat), then you will end up with a full fat yoghurt. However, if you use a low cream milk (which has about 0.5% or 2.5% fat), then your yoghurt will be a low fat yoghurt. Also remember that the higher the milk fat in your yoghurt, the creamier and tastier it will be.
- You need to heat up your milk to 180F (that is bringing it to simmer). You are not boiling it. This process kills microbes/bacteria that may be lurking in your milk and it ensures you’ve got no remnant bacteria, pathogens, mold, or spores. It also allow you create an environment for bacteria to multiple, as you only want the good bacteria (which you introduce to the milk) to multiply. Heating the milk also creates a thicker yogurt by changing the protein structure.
- After heating up your milk, you also need to allow it cool to 110/115F. This process is to make the milk comfortable for the good bacteria in your starter to activate itself during incubation. (It’s just like working with yeast. If your water is hot, it will kill your yeast.) So you just need lukewarm milk.
- A yogurt starter is a blend of bacteria which consume lactose. This blend of bacteria converts the lactose in your milk to lactic acid, giving your yogurt a tangy taste. For your starter, use a plain yoghurt that has AN ACTIVE BIO CULTURE. You can get these plain yoghurts at malls. You can also use CITRIC ACID in place of a starter or culture. To do this you will use ½ tsp of citric acid to 1 liter or 4 cups of yoghurt.
- After preparing your milk, you need to incubate or store in a warm place for 10-12 hours. I left mine for 12 hours. To incubate you can get a tea towel/blanket just like I did in the video and wrap your jars/container with it and place in a cooler or a container with lid and keep in the warmest place in your kitchen. Or you can boil water (to about 180F), pour the water into a cooler large enough to accommodate your jars, then place in your jars containing yoghurt. The water is only meant to reach the neck of your jar and not to entirely cover the jar. Then cover your cooler and keep in a part of your kitchen. This keeps the milk warm all through the incubation period. At the end of 12 hours, the water will be about 110F. During incubation, do not be tempted to disturb the milk. Don’t go about checking/shaking the cooler. It must be left undisturbed. I know this is the hardest part especially if you’re just trying out yoghurt for the first time. But trust me, it is worth the wait.
- After 12 hours, your yoghurt is ready. At this stage it will be thick and still warm. Transfer to a bowl, and just before you add your flavor, scoop out 1 cup of the yoghurt and keep refrigerated (this will be used as a starter for another batch of yoghurt).
- After adding flavor (you can also use any fruit puree that you like as flavor for your yoghurt) to the rest batch of yoghurt, refrigerate. This allows the yoghurt cools and also makes it thicker. This yoghurt can stay fresh refrigerated for 1 week. If you used fruit puree as flavour, then consume within 4 days.
If you want to go into commercial yoghurt production which includes packaging, sales, granola, parfait, Greek yoghurt, etc. Then you need to sign up for my detailed online yoghurt class. It is very affordable!
See step by step video on how to make OLD FASHIONED SWEETENED AND FLAVORED YOGHURT .
So let’s get started.
To Make:
- Start by sterilizing your jars and containers for about 20 minutes with hot boiling water.
- Next get your milk, pour into a pot, add your sugar/honey/sweetener of your choice. Stir. Allow to simmer on low heat.
- Next pour into a bowl, allow it cool to about 110/115F OR till it’s just warm to touch. You will notice a skin formed on the milk. You can remove it with a spoon or whisk it back into the milk. I whisked mine back into the milk.
- Next add your starter/pre-made yoghurt. Stir well. (If using citric acid, scoop out at least a cup of the milk into a cup, then add the citric acid into that cup of milk. Whisk well till fully combined. Then pour into the rest milk and mix all well).
- Now pour the milk into your jars/containers And keep wrapped with a tea towel or blanket or use the water bath method shared in the tips in a cooler. Keep the cooler in the warmest part of your kitchen undisturbed for 12hours.
- After 12 hours, your yoghurt is ready. It will be thick and still warm. Pour into a bowl, remove a cup of the yoghurt and store in your refrigerator to make another batch of yoghurt.
- Next, add flavor or fruit puree to the rest yoghurt. Refrigerate before drinking.
#homemadeyoghurt #yogurt #recipes #sweetenedyoghurt #flavoredyoghurt
#unsweetenedyoghurt #healthy recipes #drinks #yoghurt
Feel free to ask questions using the comment section. I will definitely respond. Also follow and subscribe to the blog so you can always get notified of my new recipes every week!
I will also LOVE to see your creations!


[…] the jar and lid and allow to cool completely before storing any food preserves inside. Check out my YOGHURT RECIPE for a video […]
Great article thanks a lot!
Thanks a lot