Simple Edible Glitters without Gelatin
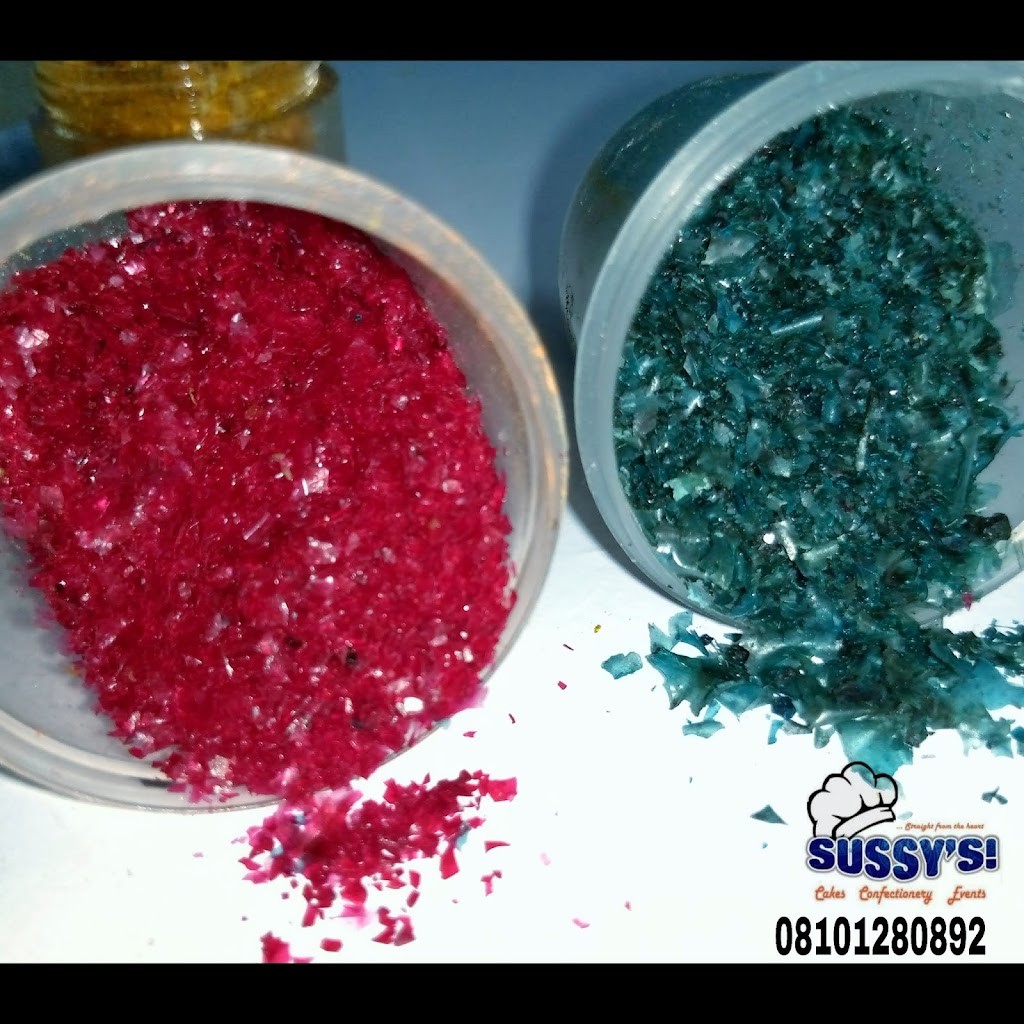
My Edible Glitters recipe just like my other recipes is very simple to make. And with just two very accessible items you will save yourself lots of expenses. In my country Nigeria, Edible glitters comes in very small containers and they are very expensive. So it will be a great relief to just make yours and also knowing exactly what goes into yours, is awesome!
WHAT ARE EDIBLE GLITTERS?
If you are a fan or have watched with your kids some Disney movies, fairy tales (Tinkerbell is a good example 😀 ) etc, you would have seen something called “Pixie Dust”. Well, “EDIBLE GLITTERS” is the bakery version of Pixie Dust! It adds a “wow” effect to your baked treats, even drinks too.
Some recipes calls for gelatin, but I am sincerely not a fan of some gelatin treats. I don’t like the aftertaste. Hence I make mine with Cornflour/Corn starch which is much more safe to consume!
In as much as Edible Glitters in stores are labelled ‘EDIBLE’, I am still very skeptical. Forgive me, 😀. Some edible items are also labelled ‘non-toxic’ and ‘for decorative purposes only’. This doesn’t still make them safe to consume, especially things like ‘disco dust, luster dust, etc’
So to be on a safe side, when I am in need of glitters, I just make mine! Let me quickly drop this – because an item states it’s ‘edible’ doesn’t mean you will like the taste. It’s edible in the sense that it won’t hurt you when you eat it. This also applies to my Edible Glitter recipe. Another thing to note is that it creates a ‘wow’ effect when used on your treat but when consumed, it has no nutritional benefits.
QUICK NOTES
- Stir up items well in a sauce pan to eliminate lumps before placing the pan on heat. If you don’t mix well, you will end up with a lumpy mixture.
- You can use any good brand of FOOD COLORING you see in your cake stores or mall. From powdered, to liquid, to paste food colours, either of these works well just like I illustrated in the video
- For GOLD EDIBLE GLITTERS, which are a little bit difficult to achieve, add a very good brand of gold food colour, and some edible gold leaves. These gives you a perfect golden effect.
- Colours are added while mixture is still hot.
- DO NOT be tempted to hasten drying time by placing spread out mixture in a preheated oven. DON’T TRY IT!!! The oven’s temperature will melt your acetate sheets. Allow to dry overnight or depending on your climate conditions, 6-12 hours. Once it’s starts peeling from the acetate sheets, it’s ready to grind.
- If you can’t find acetate sheets in your area, ask for PVC clear sheets in bookshops.
- To blend, you dry-blend. No liquid should be added to your blender. Also you can blend till it’s less grainy or a little bit grainy like mine. This depends on you. But one thing should know is it shouldn’t be powdery. Just make sure grain are very small.
- To store Edible Glitters, keep them in a cool, dry, small airtight container and away from moisture or direct sunlight. They are perfect this way for up to 6 months.
If you are interested in SIGNING UP for my ONLINE COURSES / ONSITE CLASSES or to see some of my works and students’ practicals, then do chat me up using this link: https://linktr.ee/sussycakes All my classes are very affordable.
See step-by-step video here: Simple Edible Glitters
TO MAKE:
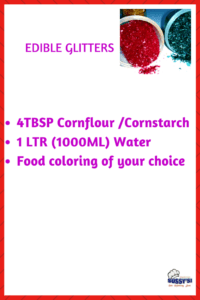
- Measure out all items and set aside.
- Pour your Cornflour/Corn starch into deep sauce pan and add your water.
- With an egg whisk or spatula, stir mixture well till there are no lumps.
- Transfer saucepan to medium heat and keep stirring mixture continuously. Don’t stop stirring so that the corn flour doesn’t settle and burn.
- At the point of mixing, the mixture will be white in colour, keep mixing and steaming. Mixture shouldn’t boil, just steam on medium-low heat. This took me about 8 minutes.
- While steaming and stirring, you will notice that mixture will reduce in quantity, also, the colour will change from white to translucent (It will become transparent). Another thing to note is that mixture will become slightly thick and sticky. Also, the mixture at the sides of the pan will start drying out, forming a skin. All these proves it’s ready.
- Remove from heat, divide into separate bowls, add food colouring of your choice and stir well.
- Next get your acetate sheets (it should be same quantity as the number of your bowls. That is if you have 6 colored bowls of glitter mixture, you should have 6 acetate sheets) and baking trays. Place your acetate sheets on your baking tray. Next spread each colour of your glitter mixture on an individual acetate sheet as thinly as possible. SPREADING MIXTURE THINLY IS VERY IMPORTANT as this will hasten the drying process.
- Keep sheets overnight to dry completely or for about 6-12 hours depending on your climate conditions.
- Once properly dried, glitter sheets will peel easily from the acetate sheets. Be careful not to keep them in a windy place, ‘cos they are so light and can be blown away.
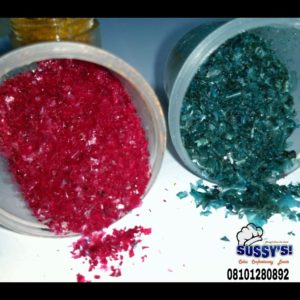
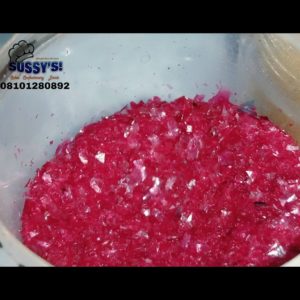
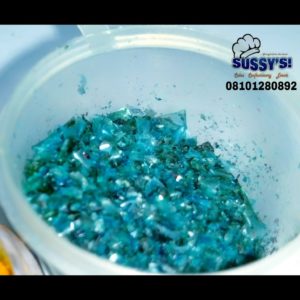
- Finally blend them to be slightly grainy. Clean blender well after blending each colour so you don’t have a mixture of colours. Store in a small, dry, air tight container
Enjoy!
