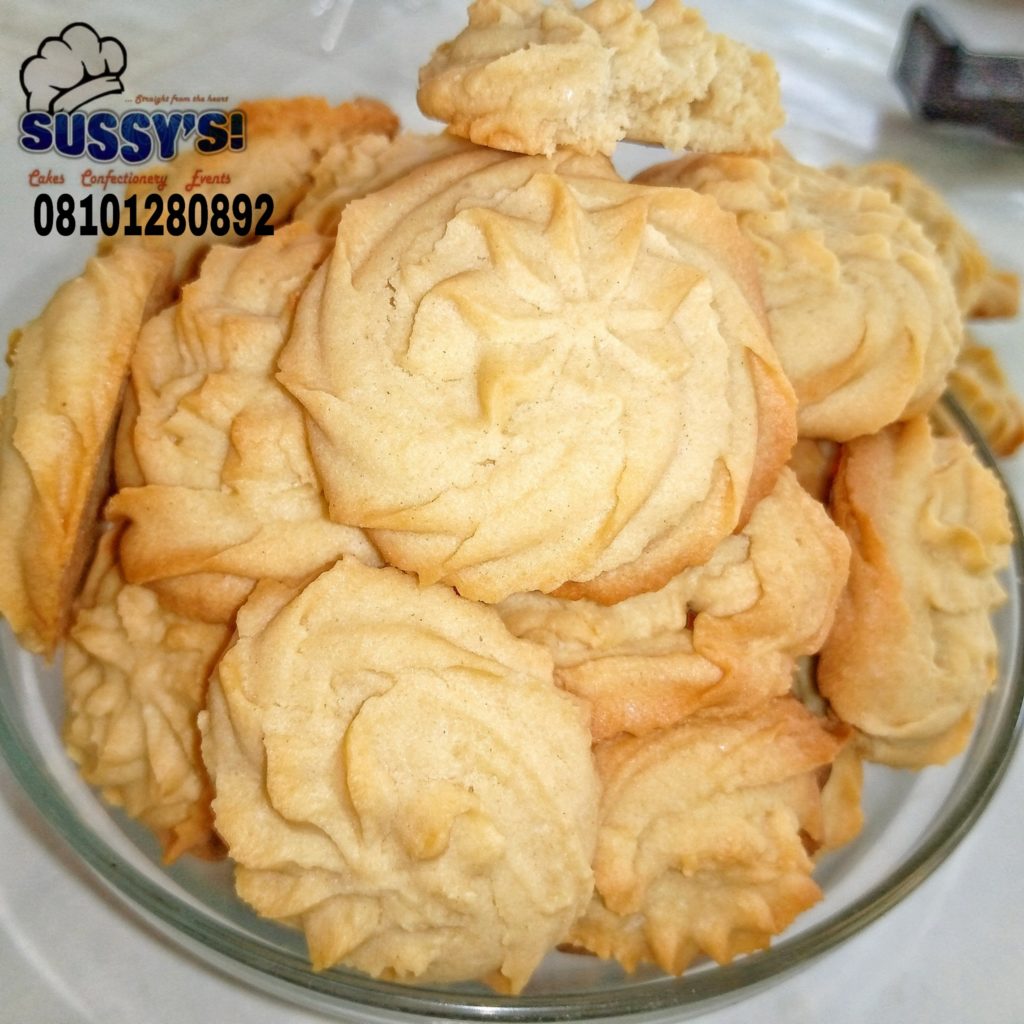
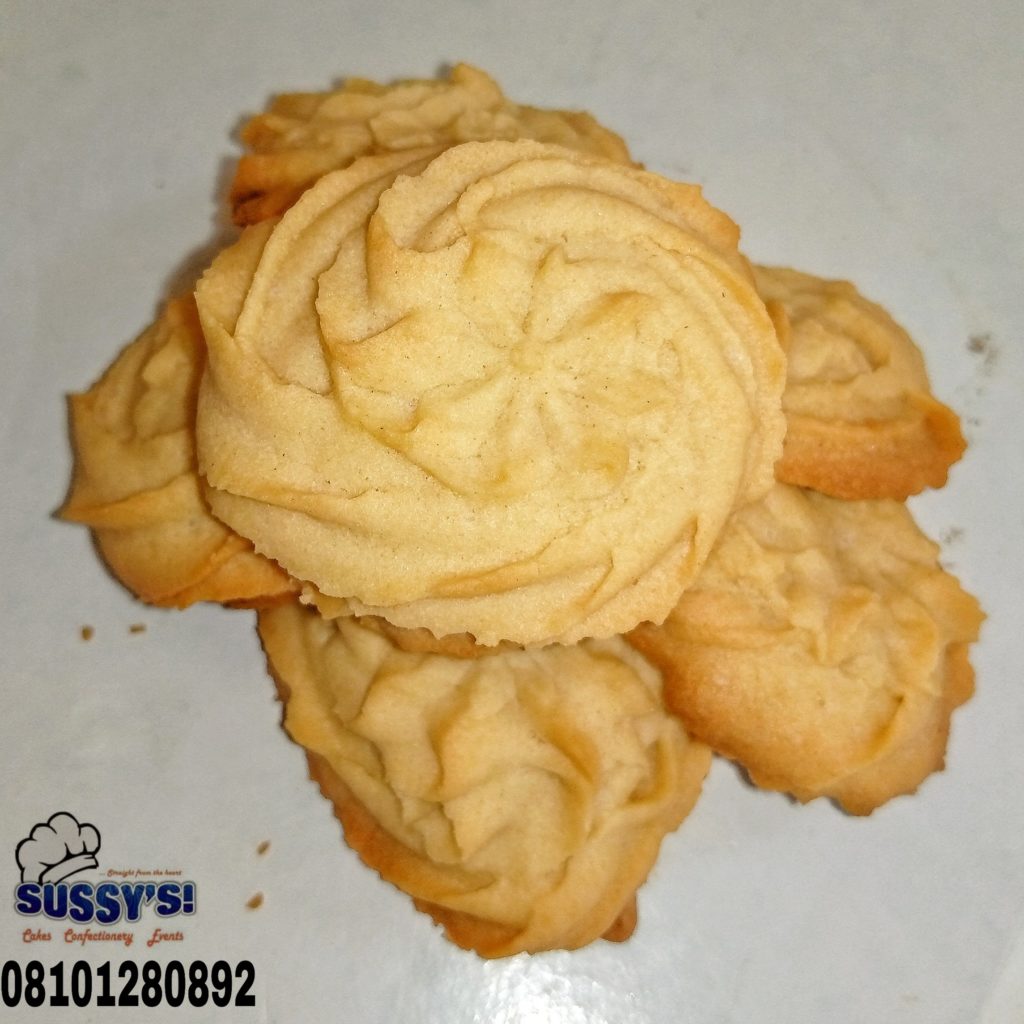
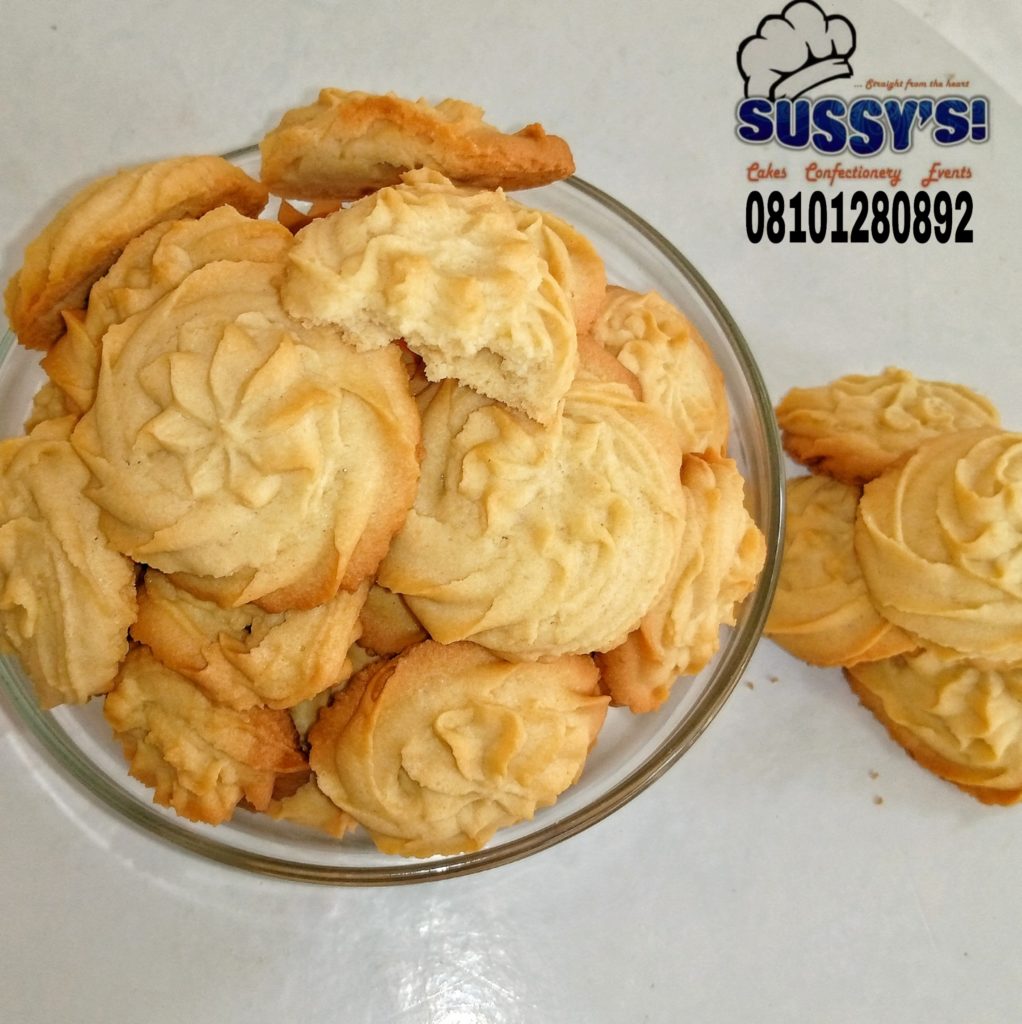
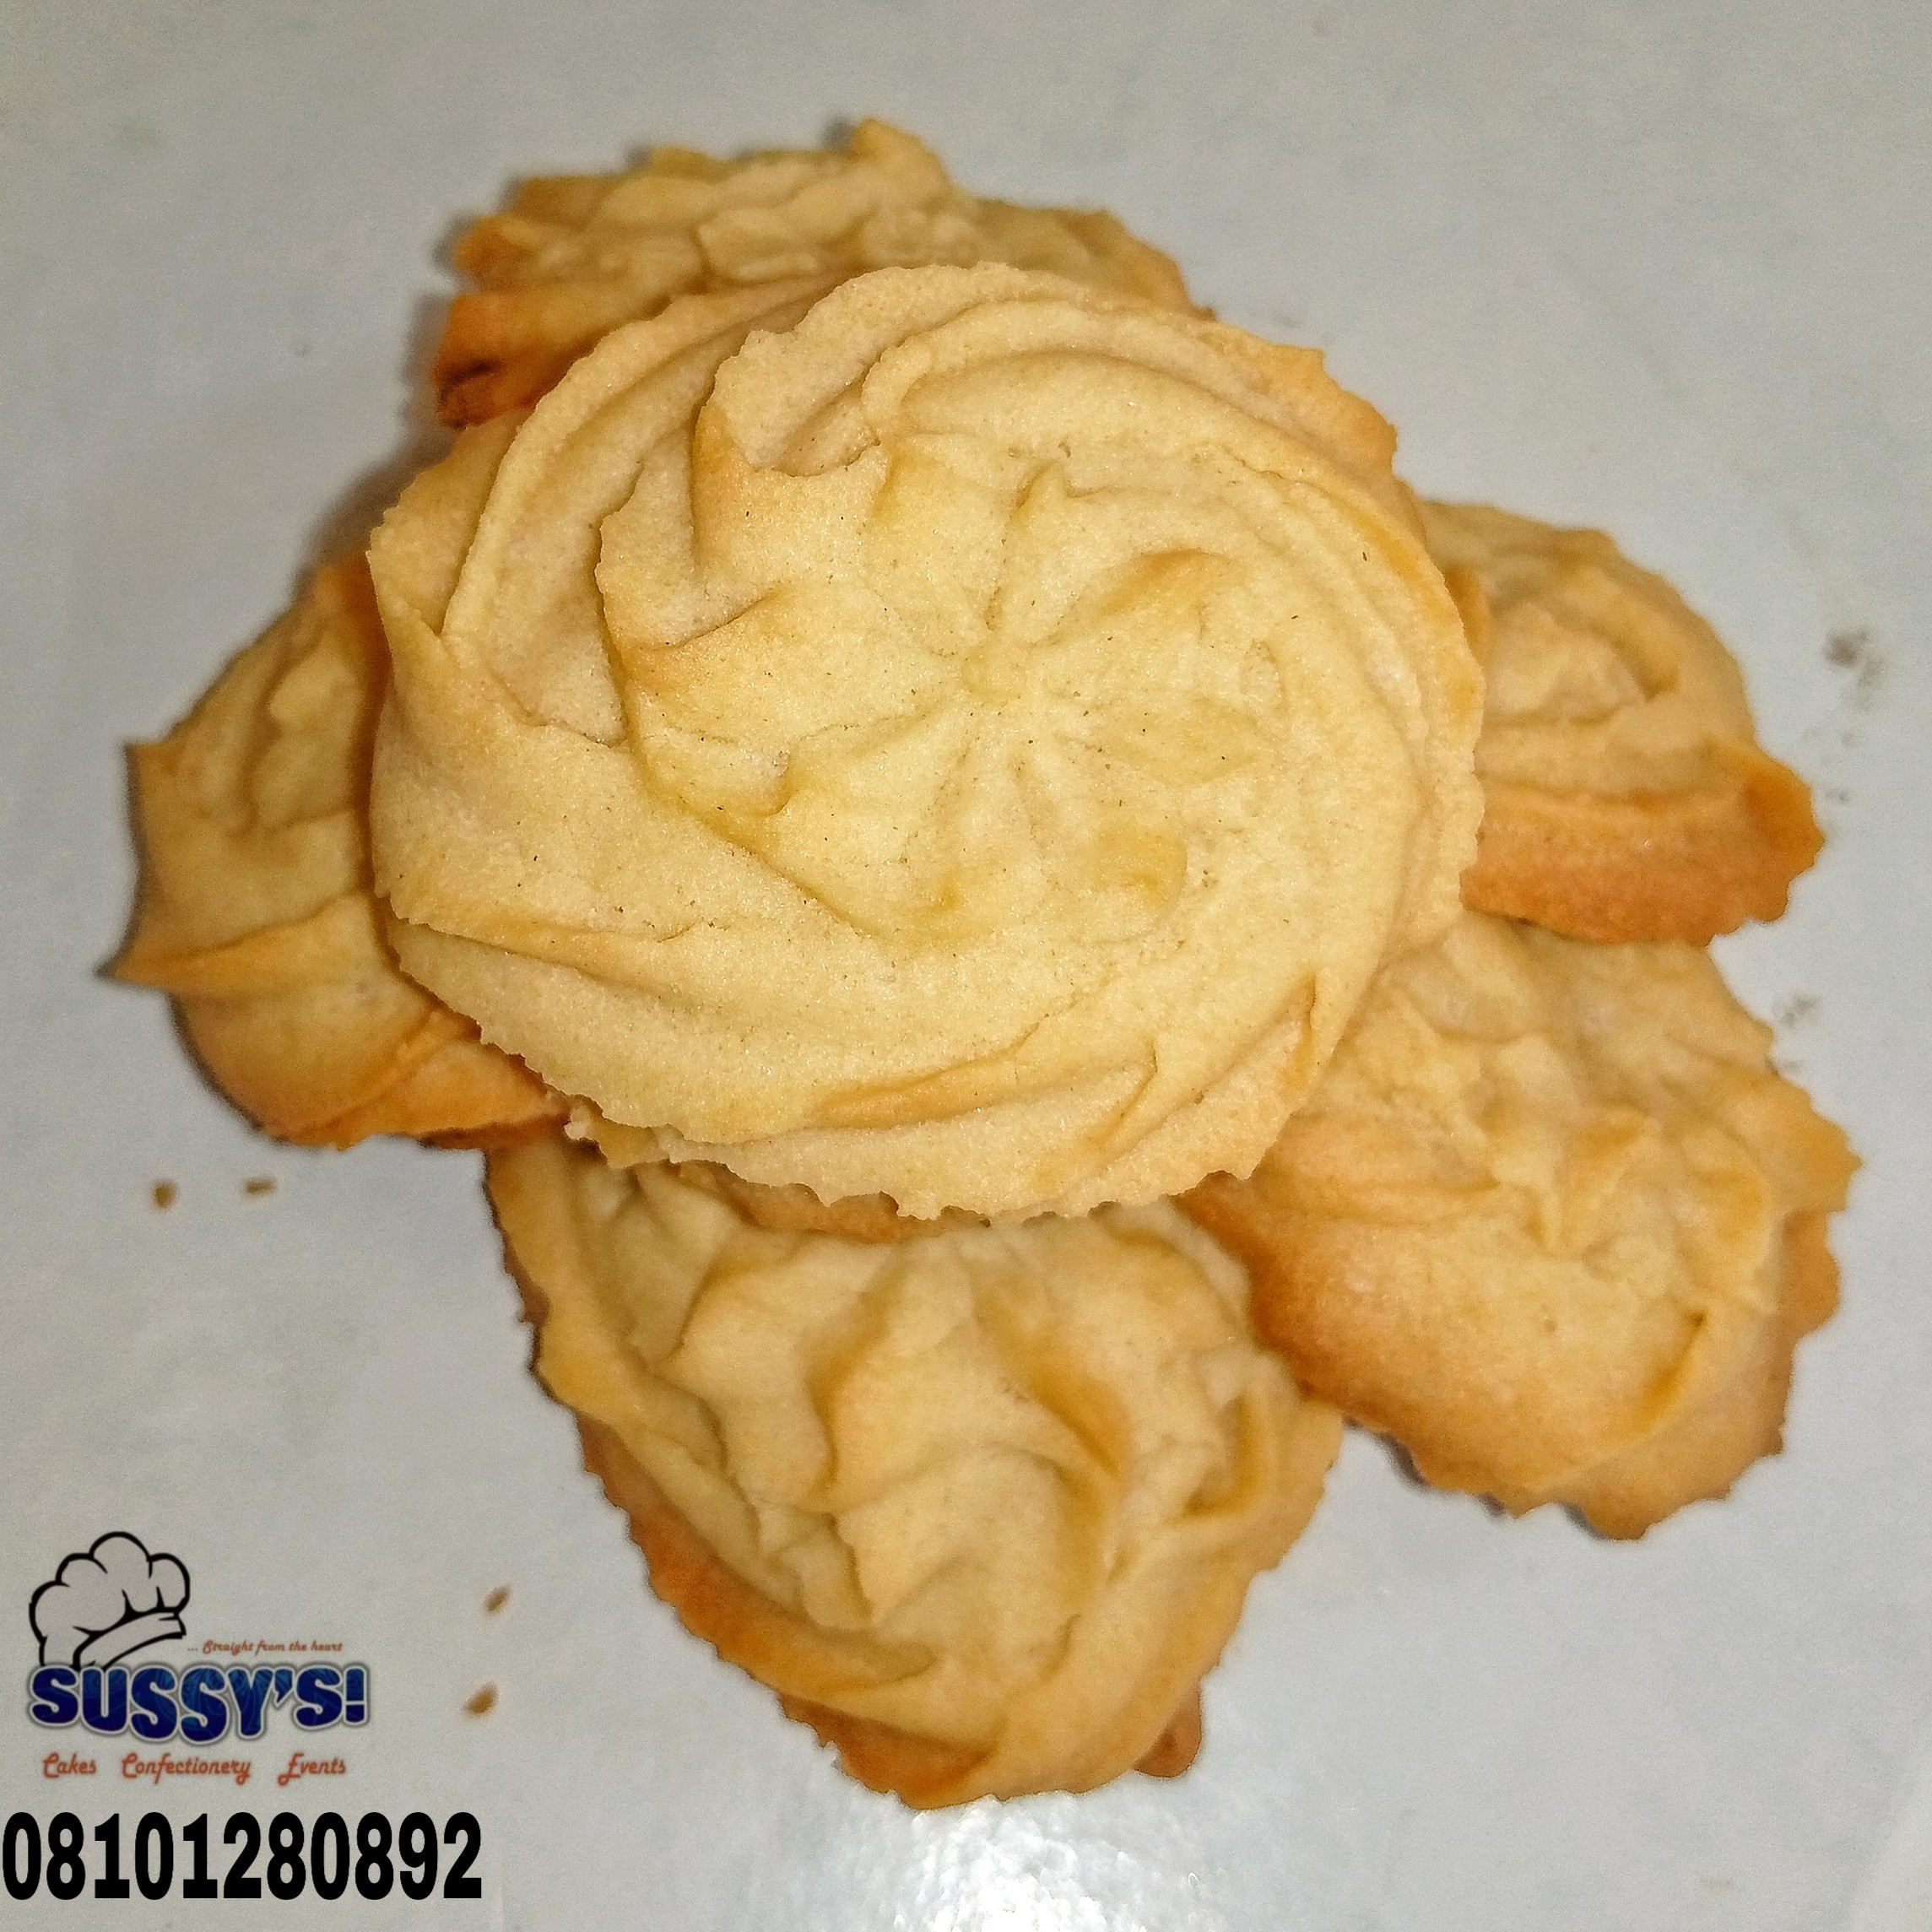
MELT-IN-THE-MOUTH DANISH BUTTER COOKIES
Let me ask you two sincere questions. Have you bought a tin of Danish Butter Cookies before? If yes, what exactly is in the Danish Butter Cookies Tin right now? 😂😂 Let me guess or rather let me be the first to answer. Yes I have, and I have buttons, thread, needles, and office pins in them right now. 😂

SO WHAT’S ALL THE FUSE ABOUT DANISH BUTTER COOKIES?
If you have tasted these Danish cookies before, one thing you will have to admit is their crisp outer taste which blends perfectly with their buttery melt-in-the-mouth texture. Let’s go down history lane a lane a little shall we?
Danish cookies first began coming out of the oven in the Danish village of Helsingoer in 1966. The bakery was known for its dedication to fine Danish baking traditions. To honor that, they named them ‘Royal Dansk cookies’. Dansk, which means Danish, makes the literal translation, Royal Danish cookies. Danish Butter Cookies are popular cookies typically sold in round blue tins and quite common. The most important ingredient in Danish Butter Cookies is butter. The cookies are notably buttery
If you enjoy simple cookies without icing, then this would be your perfect choice. If you like making simple treats with your kids, this would work just fine and you all will have all the fun! If you’re looking for something to share to your neighbors as Christmas Cookies, this is perfect. If you’re looking for a perfect snack or biscuit to prep for your kids to school, this is it. If you’re searching for a treat so unique and yet simple to snack on after the break of your Ramadan fast, this is perfect. If you’re looking into starting a small business of making and selling cookies, this would be a perfect cookie variation to add to your menu! So you see why Danish Cookies is indeed royal?
DANISH COOKIES INGREDIENTS :
I have always promised that ALL my no-fail recipes would be very simple and the ingredients would always be something already in your kitchen or bakery or in your vicinity.
- Butter: This is a very important ingredient when making the traditional Danish Cookies. Use a very good brand of unsalted butter for the best taste. Danish butter cookies are traditionally buttery so you want to keep it at that. Can you substitute with Margarine? Yes you can, but what you will be having won’t be the traditional buttery cookies.
- Sugar: I used granulated white sugar. This adds sweetness to your cookies.
- Egg: Use large egg. Now because we would be using a creaming method (a mixing method of whipping butter and sugar together till fluffy and light), the egg in the recipe doesn’t only add richness, it also gives you a pipeable batter.
- Flour: Your regular all purpose flour will work just fine. Have you watched my LIVESTREAM on YouTube where I talked about flour types in my moment of truth series? Oh you need to watch that!
- Vanilla Extract: You can use a clear or dark Vanilla extract.
- Salt: Salt makes baked treats taste better! It balances sweetness in the recipe. If you however used salted butter, leave out the salt please.

ARE DANISH BUTTER COOKIES HEALTHY?
Truth is, they are healthy in the sense that they are not poisonous, but they could be fattening. But you’re definitely not munching them ever single day all year long, are you? 😀 So they are safe to be eaten.
Cookies can be an alternative snack every day than other unhealthy snacks because,they contain good nutrition to provide energy intakes such as sugar and carbohydrates. Eating 2-3 in the morning can help you get ready to start your day.
HOW LONG DO DANISH BUTTER COOKIES LAST?
Once baked, store in a airtight container for up to 2 weeks on a shelf and in a cool dry place away from direct sunlight.
You can also freeze them for up to 6 months.
However, unbaked and unpiped Danish Cookies can be frozen for up to 3 months. Just allow to thaw to room temperature, fold it a little using a spatula, pipe and bake in your preheated oven when you are ready for baking. Also remember to cover your mixing bowl with plastic wrap or cling film to prevent the cookie batter accumulating the smell of other things in your freezer. Same rule applies to unbaked and piped cookie batter. Wrap your baking tray well and keep frozen for up to 3 months. Once ready to bake, bake in a preheated oven. You don’t need to allow it thaw completely to room temperature before baking piped cookies.
ARE DANISH COOKIES SAME AS SHORTBREAD COOKIES?
If you are conversant with making cookies, you will definitely be asking yourself this question. Danish Butter Cookies and Shortbread cookies have almost similar ingredients, texture, and taste. But Shortbread cookies do not use any form of leavener (eggs inclusive). They are dens and crumbly. Shortbread cookies are also commonly rolled up and sliced, or rolled into a sheet and cut with a cutter, whereas these Danish cookies are piped. I hope this settles it.

TIPS FOR MAKING THE BEST DANISH BUTTER COOKIES:
- Follow my step-by-step process for the same result as mine. I don’t think we need to over emphasize this.
- Always use the best ingredients.
- Use a stop watch. Get a timer. Get a clock.
- Cream your butter and sugar well. Beat your butter and sugar together for about 5 minutes if using an electric stand mixer or 8 minutes of using a hand mixer. The creamed butter and sugar should be light in color and fluffy in texture. This will result in lighter cookies as opposed to a dense heavy batch of cookies.
- Do not overfill your piping bag with your cookie batter. Work in batches. It will make piping easier.
- If you want to dish piping and use cutters, then refrigerate the batter for about 30minutes, then use cutters of your choice.
- You can colour the batter if you want to make something colourful. But make sure you’re using food grade or edible colours only. Also use gel colours as opposed liquid or powered colour. Liquid colour will thin your batter more. And you won’t like it. Powdered colour will involve you mixing your cookie batter to much to blend in the colour and overmixing is not allowed when making cookies.
- It is also adviceable to add in your edible colours after creaming your butter and sugar till fluffy and mix.
- Do not overmix your cookie batter. Cookies do not need overmixing so stick to timing.
- Do not overbake. In 15 minutes with a 180°C preheated oven, your cookies should be ready. The edges should just be golden brown. Not too brown. Too browned cookies means you have overbaked and that’s not how a traditional Danish Cookies looks 😀.
- Rotate your baking tray half-way through baking to make your cookies bake evenly.
- Once your cookies are out of the oven, remove them from the baking tray. If you leave them to cool, it will keep baking. So transfer them to a rack or another baking tray to cool completely.
- My melt-in-the-mouth Danish Butter Cookies can be prepared in advance and baked at another date. Unbaked and unpiped Danish Cookies can be frozen for up to 3 months. Just allow to thaw to room temperature, fold it a little using a spatula, pipe and bake in your preheated oven when you are ready for baking. Also remember to cover your mixing bowl with plastic wrap or cling film to prevent the cookie batter accumulating the smell of other things in your freezer. Same rule applies to unbaked and piped cookie batter. Wrap your baking tray well and keep frozen for up to 3 months. Once ready to bake, bake in a preheated oven. You don’t need to allow it thaw completely to room temperature before baking piped cookies.
So let’s get started with making my melt-in-the-mouth Danish Butter Cookies:
- Measure out all items and keep on your work surface where you can see them.
- Pre-heat oven to 180°C. Line your baking tray with parchment paper or brown paper and set aside.
- In a mixing bowl, add your softened butter, sugar, and salt. Mix for 5 minutes if using electric stand mixer or 8 minutes if using hand mixer till butter and sugar are light and fluffy. If using electric stand mixer, use the balloon whisk.
- Next add Vanilla and Egg and whisk till well combined.
- Now if using an electric stand mixer, switch over to your paddle attachment. Now add your flour and mix thoroughly for about 3 minutes.
- Next, get a large star tip (you can use either an open star tip or closed one), and fit into a piping bag. Scoop your cookie batter into it, work in batches. Don’t overfill your piping bag. Pipe onto your prepared lined baking tray in circle (about 5cm); making sure to leave little spaces between each piped cookie.
- Bake in your preheated oven for 15minutes. Rotate your baking tray half-way through baking to make your cookies bake evenly. That is after about 7minutes, change the position of your baking tray. Don’t overbake. Once cookies are slightly golden brown, remove from oven.
- Once out of the oven, remove from baking tray so that they don’t keep baking. Transfer to a rack or tray to cool completely. Then store in an airtight container. Enjoy!
To sign up for my ONLINE COOKIES CLASS that runs 24/7 please send me a direct message via email or through any of my social media platform.
Remember to always tag us to your creation using #sussycakesrecipes
I love to see your feedback and creation!

MELT-IN-THE-MOUTH DANISH BUTTER COOKIES
Equipment
- Mixing Bowls
- Electric Stand mixer or Hand mixer
- Spatulas
- Piping bag and Nozzle tip
- Baking Trays
Ingredients
- 225 grams softened Unsalted Butter 1 cup
- 90 grams granulated white Sugar ½ cup
- 2 cups all purpose Flour
- 1 large Egg
- 1 tbsp Vanilla Extract clear or dark
- ¼ tsp Salt
Instructions
- Measure out all items and keep on your work surface where you can see them. Pre-heat oven to 180°C. Line your baking tray with parchment paper or brown paper and set aside.
- In a mixing bowl, add your softened butter, sugar, and salt. Mix for 5 minutes if using electric stand mixer or 8 minutes if using hand mixer till butter and sugar are light and fluffy. If using electric stand mixer, use the balloon whisk.
- Next add Vanilla and Egg and whisk till well combined.
- Now if using an electric stand mixer, switch over to your paddle attachment. Now add your flour and mix thoroughly for about 3 minutes.
- Next, get a large star tip (you can use either an open star tip or closed one), and fit into a piping bag. Scoop your cookie batter into it, work in batches. Don't overfill your piping bag. Pipe onto your prepared lined baking tray in circle (about 5cm); making sure to leave little spaces between each piped cookie.
- Bake in your preheated oven for 15minutes. Rotate your baking tray half-way through baking to make your cookies bake evenly. That is after about 7minutes, change the position of your baking tray. Don't overbake. Once cookies are slightly golden brown, remove from oven.
- Once out of the oven, remove from baking tray so that they don't keep baking. Transfer to a rack or tray to cool completely. Then store in an airtight container. Enjoy.
Video
Nutrition Facts
4 servings per container
- Amount Per ServingCalories742
- % Daily Value *
- Total Fat
47.5g
61%
- Saturated Fat 29.4g 147%
- Cholesterol 167mg 56%
- Sodium 490mg 22%
- Potassium 102mg 3%
- Total Carbohydrate
70.7g
26%
- Dietary Fiber 1.7g 7%
- Total Sugars 23.2g
- Protein 8.5g 17%
- Calcium 30mg 3%
- Iron 3mg 17%
- Vitamin D 36mcg 180%
* The % Daily Value tells you how much a nutrient in a serving of food contributes to a daily diet. 2,000 calories a day is used for general nutrition advice.
