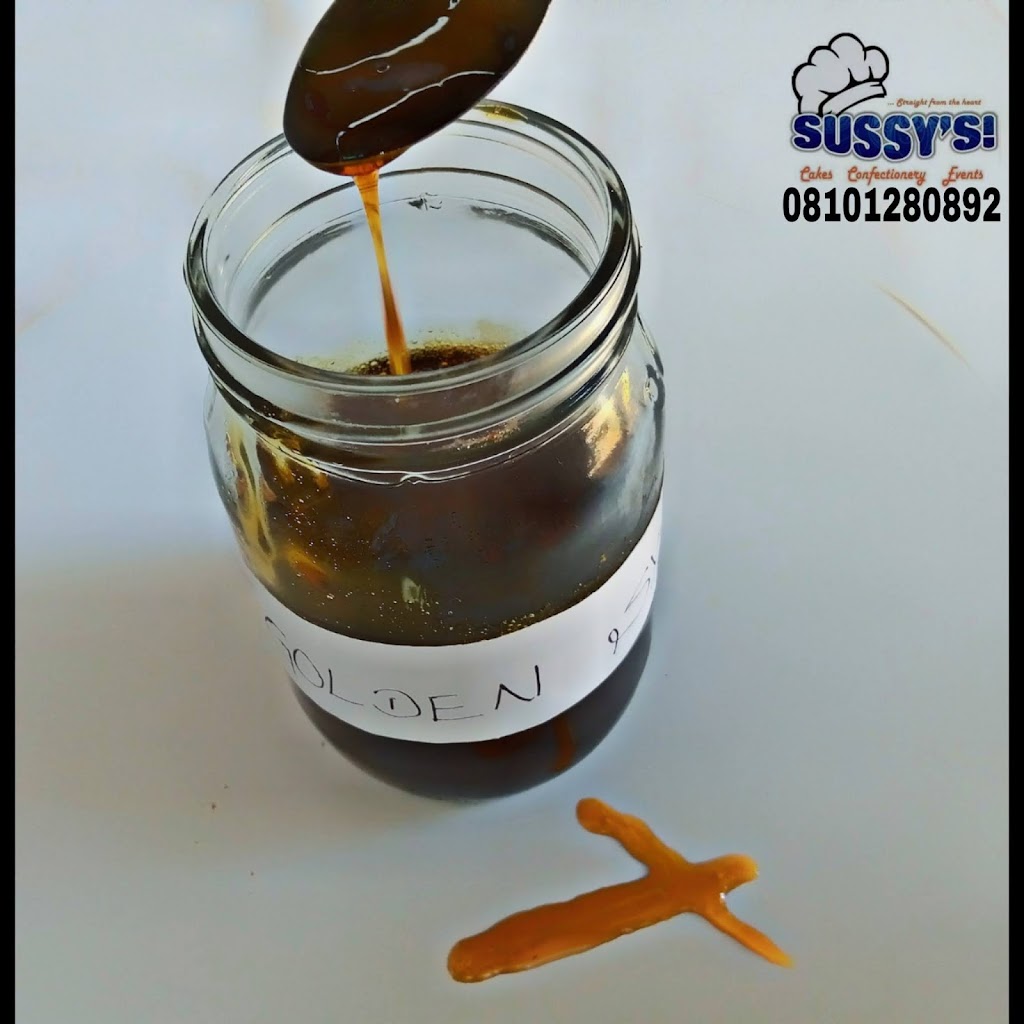
It’s been ages I bought Golden Syrup from a cake store or mall. And I am very sure the price would have tripled. Well why don’t you ditch the store and make yours! The good news about homemade recipes is that you will have it in more quantity than store bought ones. Also you get to understand the role of each item you use in making your baked treats. And it’s okay to make mistakes, ‘cos you would have gained experience and won’t make such mistake in the next attempt!
WHAT IS GOLDEN SYRUP?
Golden syrup is a thick amber-coloured form of inverted sugar syrup that has an appearance and consistency as honey. It is a sticky, dark or light syrup made from partly refined sugar or molasses. It is also a syrup made in the process of cooking down a sugar solution with a form of culinary acid. In simpler terms, golden syrup is just water, sugar, and citric acid (in this case I used Lemon). Don’t worry you won’t taste the lemon.
SOME CULINARY USES OF GOLDEN SYRUP:
- Golden syrup can be poured over classic breakfast dishes like pancakes, porridge, English muffins and yogurt.
- It could be drizzled over fruit salads or on fruits before grilling.
- It serves as a sweetener in baked goods like pies or poured on top of a warm cake layer for an instant glaze.
- For a touch of sweetness in savory marinades or in cocktails, Golden Syrup is the answer.
HOW TO STORE GOLDEN SYRUP
Just like all other sugar syrups we have treated previously (Maple Syrup, Burnt Sugar Syrup, Simple Sugar Syrup ) pour your golden syrup in a sterilized jar. Golden syrup will stay fresh for a couple of years.
NOTE
- Like I usually say, always keep the kids away when making sugar syrups because they can be twice as hot than boiling water. You also don’t want to get distracted and splatter syrup all around. That would mean double clean up for you.
- If using a sauce pan make sure it’s quite deep. Syrup will fizzle a lot and to prevent it from spilling, use a deep sauce pan.
- Boiling water is very necessary when making this syrup. Boil and keep in a hot water flask. Anything water less in temperature than boiling water won’t work.
- Lemon: I used whole lemon here, which is also referred to as citric acid or culinary acid, meaning I just washed and sliced a quarter of the lemon and added it to the syrup. The acid in lemon helps stop crystallization. This chemical reaction will turn the glucose into fructose (which is known as inverted syrup), and this is how golden syrup is made.
- When adding the hot water to the syrup, add it bit by bit. This is because the syrup will fizzle a lot.
- The whole process took me 10 minutes. At most 10-15 minutes. If you go beyond this timing, your syrup will become darker and harden up immediately or almost as soon as it’s off heat. If you have a candy thermometer then that’s good. At 150°C or 300F your sugar syrup is ready! Also if you don’t have a candy thermometer, once your syrup changes to amber color and still very runny, remove from heat. Once you scoop the syrup a little in a plate and it hardens up in few minutes, you have over boiled your syrup. Don’t get scared, this can be rectified. But it’s best you watch your syrup.
- As syrup cools, it will thicken till it reaches that honey-like consistency.
- If after making your golden syrup, and you scoop a little into a plate, it hardens like candy almost immediately, it means you have over boiled your syrup. To rectify this, heat up water till it gets to boiling stage. Then add a quarter cup (¼ cup) of the boiling water to the syrup at a time till you get the required consistency.
- If however your syrup is too thin. Then keep boiling for a few minutes till syrup reaches desired consistency.
If you are interested in SIGNING UP for my ONLINE COURSES / ONSITE CLASSES or to see some of my works and students’ practicals, then do chat me up using this link: https://linktr.ee/sussycakes All my classes are very affordable.
TO MAKE:
- Measure out all items and set aside. Boil your water and keep in a hot flask.
- Get your saucepan, add your room temperature water, granulated white sugar, and stir all contents well to moisten the sugar.
- Transfer saucepan to low-medium heat, stirring content occasionally and bring the content to a simmer.
- Wash your lemon and slice a quarter. Keep aside.
- Next, check your syrup if its changed to amber in colour. Remove from heat, and add your lemon. Then add the larger sugar. Now start adding the boiling water in bits still it’s exhausted.
- Return sauce pan back to low-medium heat, then allow to boil for 10-15 minutes. Or if using a candy thermometer boil till syrup reaches 150°C or 300F. At this stage, syrup will be amber colour and still very runny that when you scoop a little into a plate, it retains its runny consistency for more than 10 minutes.
- As syrup cools, it will thicken. Pour into sterilized jars and allow to cool before covering jar with lids.
Store in a cool dry place.
Enjoy!
#sugarseries #goldensyrup #homemadesugarseries #molasses #treacle

